@Editer This is the existing astro thread.
For “deep-space objects” (DSOs) the technique is to capture a large number of fairly short - or fairly long, depending on how you look at it :) - exposures, then combine (“stack”) them into a final image. The idea is that signal you want is very faint and there is a lot of noise. The noise is random, while the signal should stay put, so stacking is an effective way to amplify the signal while dispersing the noise. Even then, the signal is usually still quite faint. “Post-processing” is the art of doing non-linear “stretching” of the image to produce the images you see in this thread.
Quick synopsis of a couple of ways to approach starting astrophotography:
Star tracker + dslr (or mirrorless, whatever you have) + intervalometer. This is a pretty cheap entry point. You can get started even with a kit lens, but, like everything else, a higher quality lens is better up to a point. I have never used a tracker. You will need to become familiar with getting the ‘RA’ (Right Ascension) axis lined up with the North Celestial Pole. Once you do an OK job with that, the tracker’s motor on the RA axis keeps your target pretty well centered and you should be able to collect many ~1-minute exposures. You want to stick to lenses roughly in the 100-400mm range. The longer ones will be more challenging both in terms of tracking and overall image quality (terrestrial lenses are a different beast from telescopes). There are a couple of really well-regarded lenses (Rokinon 135mm f/2, for example).
Star trackers can also be used for very small telescopes, but most people I know who started that way eventually move to a full equatorial mount.
I started with a small-capacity, computer controllable mount that cost ~$1000 new (I’ve moved up - it’s for sale!), a 60mm f/6 doublet “apochromatic” refractor. Telescopes are named differently than lenses - the diameter is specified. That scope’s focal length is 360mm (it’s for sale, too!). A larger telescope is more interesting when you put an eyepiece in to have a look (though it is actually quite a nice widefield scope, just don’t expect closeup views of Jupiter. You can see Saturn’s rings, but the planet is quiet small in the eyepiece), but larger scopes are much harder to learn astrophotography. There’s a lot about astrophotography that seem counterintuitive at first.
I started with the old Canon T5i we already had. I moved past the intervalometer stage fairly quickly and moved to a setup I can control with a laptop (actually I mount a pi on the tripod that controls everything about the photography, I log into it from a laptop.
My current setup is:
A larger mount in the same product series as my starting mount
A triplet (better color control) refractor, basically the same specs otherwise as what I started with
A 2nd scope - a 6" Ritchey-Chretien design reflector that I’m still getting all set up for imaging
A cooled-sensor camera. Much smaller sensor than the dslr.
Here’s one more image, this with all the starting gear:
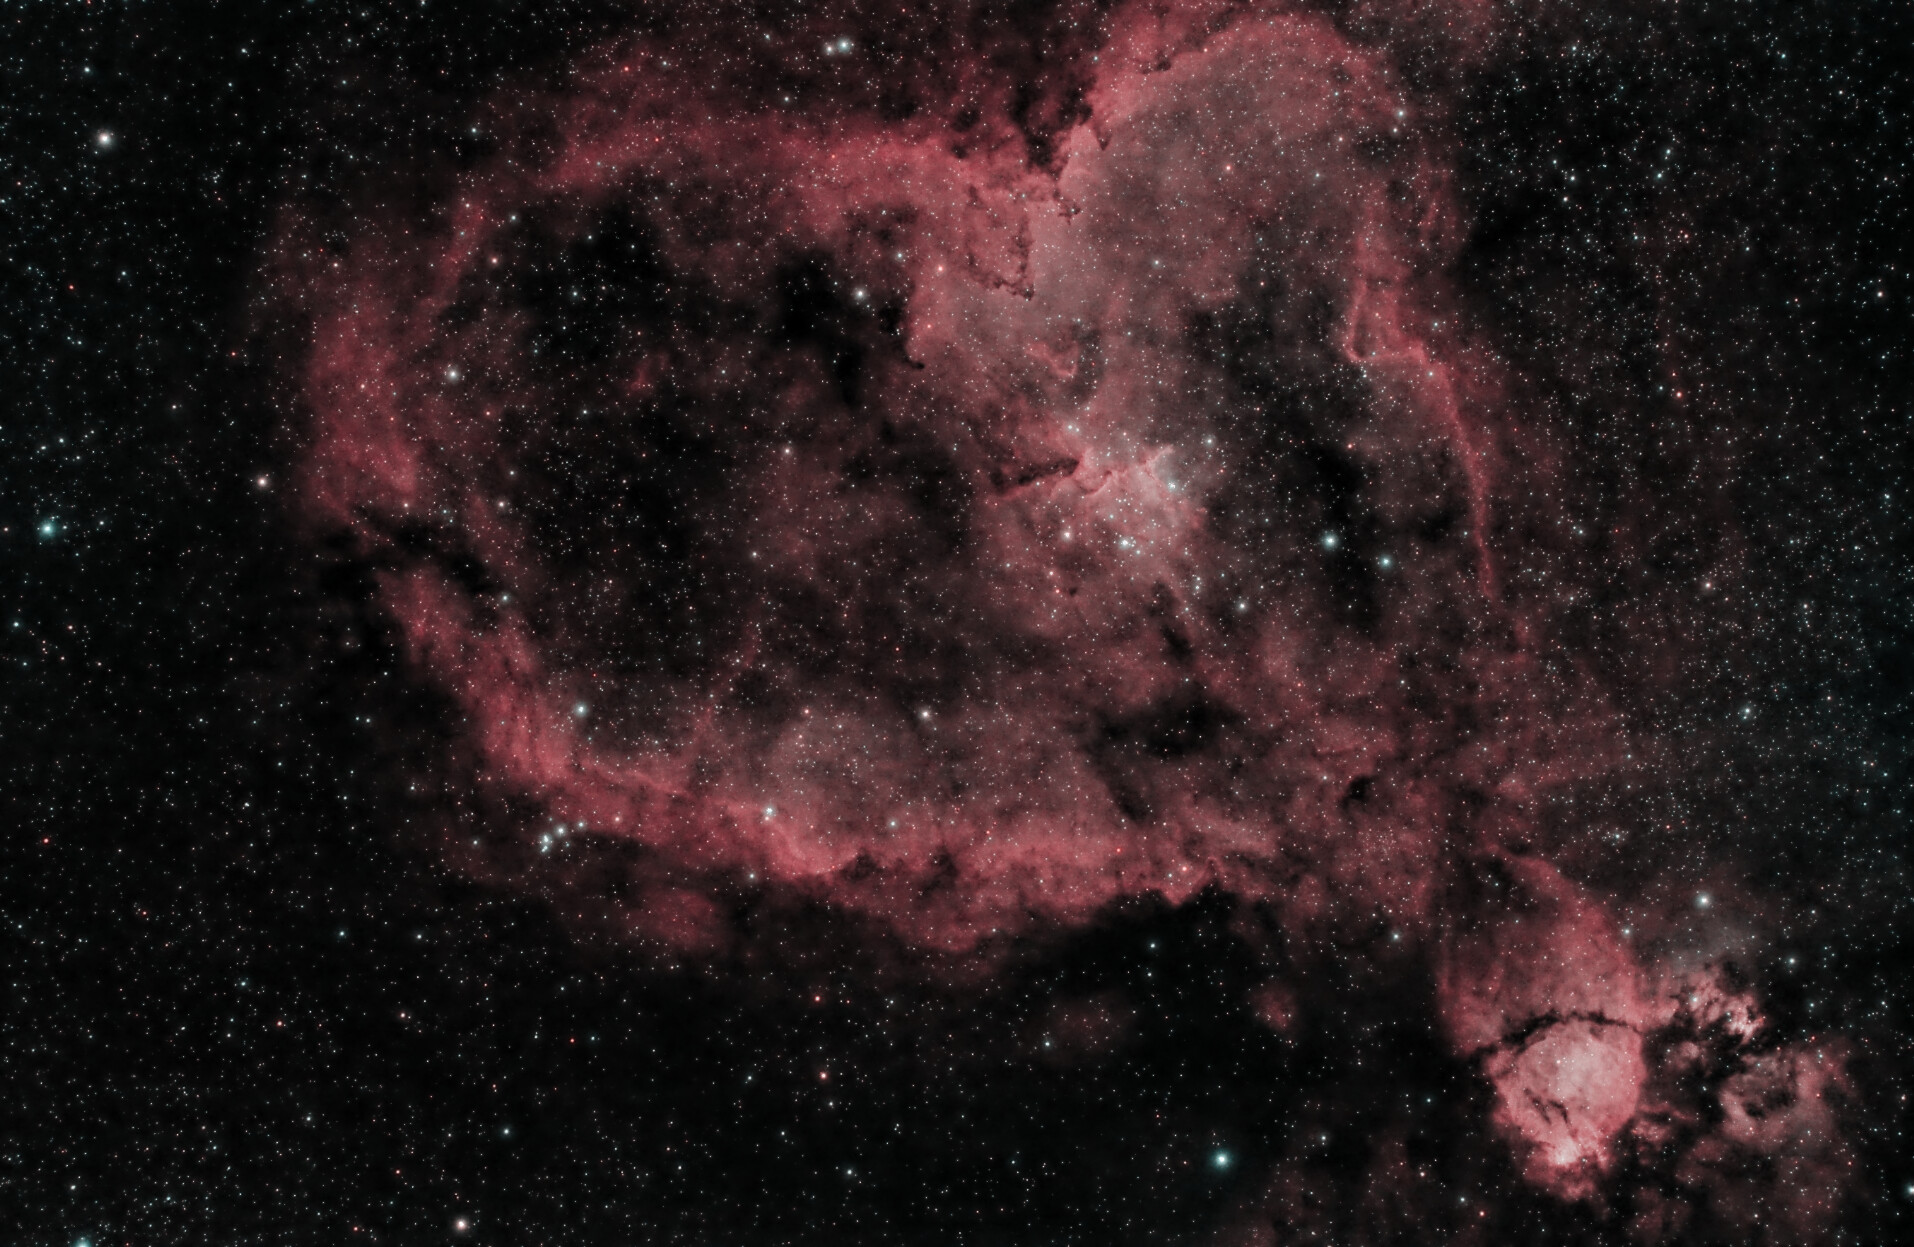
The Heart Nebula. I used a filter that only passes light very near the emission lines of Hydrogen and Oxygen. Cuts way way way down on light pollution problems, but you can’t use it on things like galaxies or star clusters.
Below is my first attempt with the 6" scope. Just barely getting started, I need several more hours. It is the Crab Nebula.