This post contains unmarked spoilers for Dunwich Legacy scenario "The House Always Wins"
This scenario is called “The House Always Wins”, which is a play on a famous quote from 2015 classic Furious 7, spoken by Sir Vin Diesel. The full quote is “The thing about street fights…the street always wins,” which kinda sounds like it makes absolutely no sense at all, but Dom is really smart about the streets so I’m sure he’s right. This is the only scenario in the Dunwich campaign that I’ve played previously and in that attempt back in March the House definitely won. Let’s see what happens in the rematch.
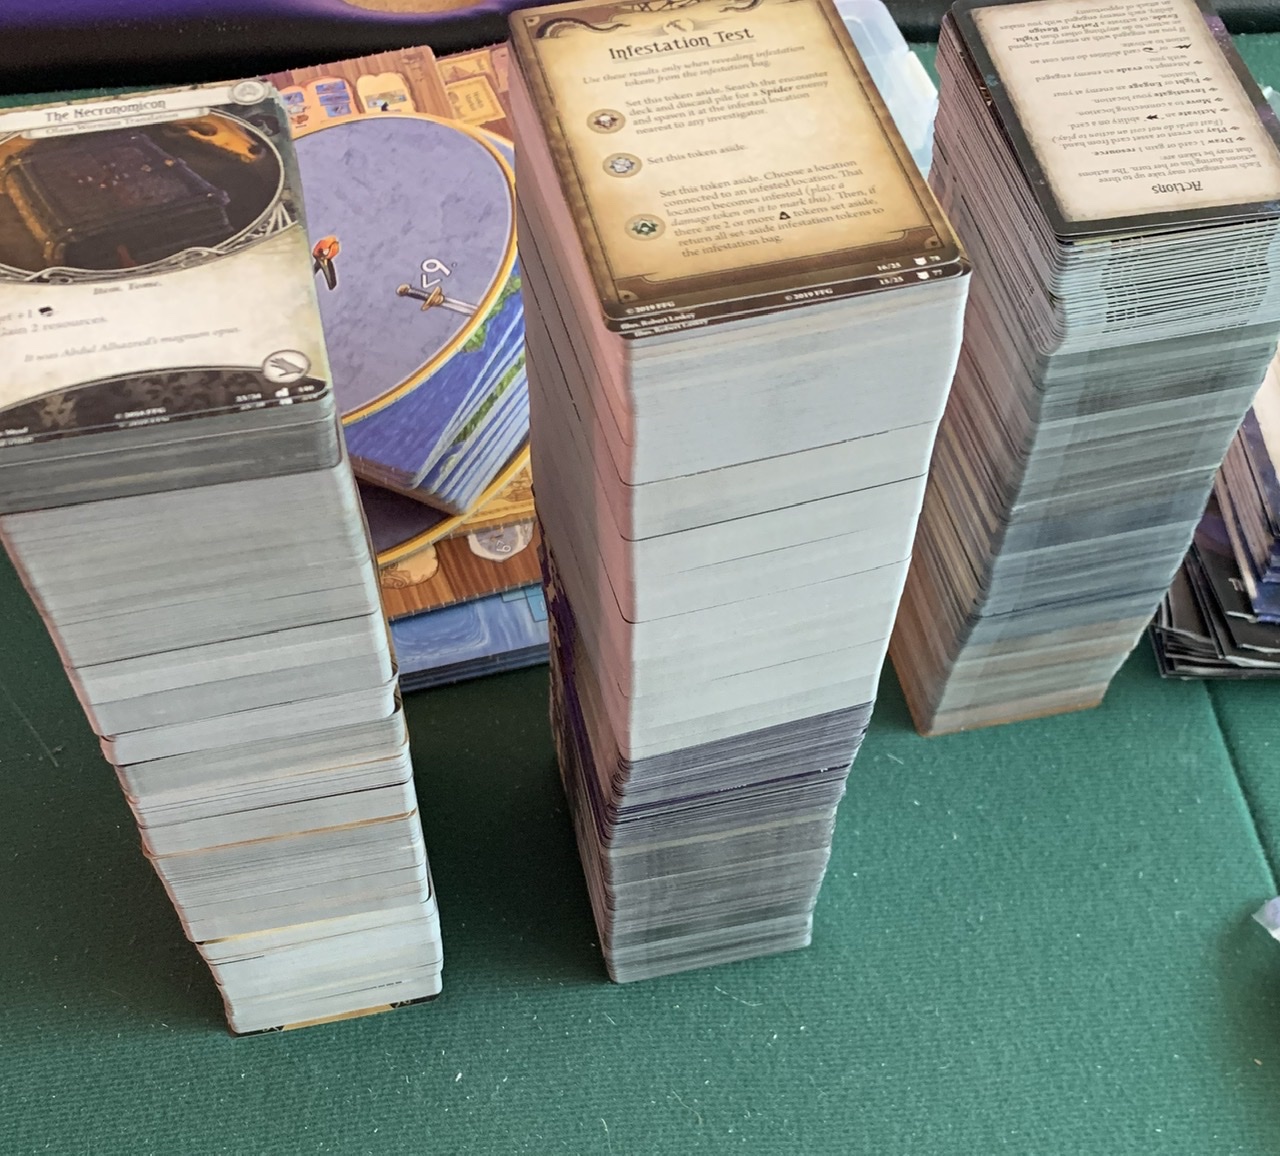
Detour! So I’ve got a lot of these Arkham cards now. Tom made me buy them. This, however, is probably not viable as a long term storage solution:
Before jumping into the scenario I switched to arts and crafts mode. See, the box the game comes in is way too small to actually hold many cards. Once you add a few booster packs you’re out of space, and I’ve added a lot of booster packs. So, I’ve decided to embiggen the box by putting a wall of foamcore around the edges and adding dividers to keep the cards in place.
In addition, I’ve purchased the Return to Dunwich Horror box. The Return To boxes are essentially ways to revisit a campaign with even greater challenges. We’re not even close to needing the remixed content but the real draw was the nice storage box and card dividers it comes with. Now I’ve got everything we need to play the next several scenarios in one convenient box and the rest of the cards put away in my expanded core box that’ll go back in the basement.
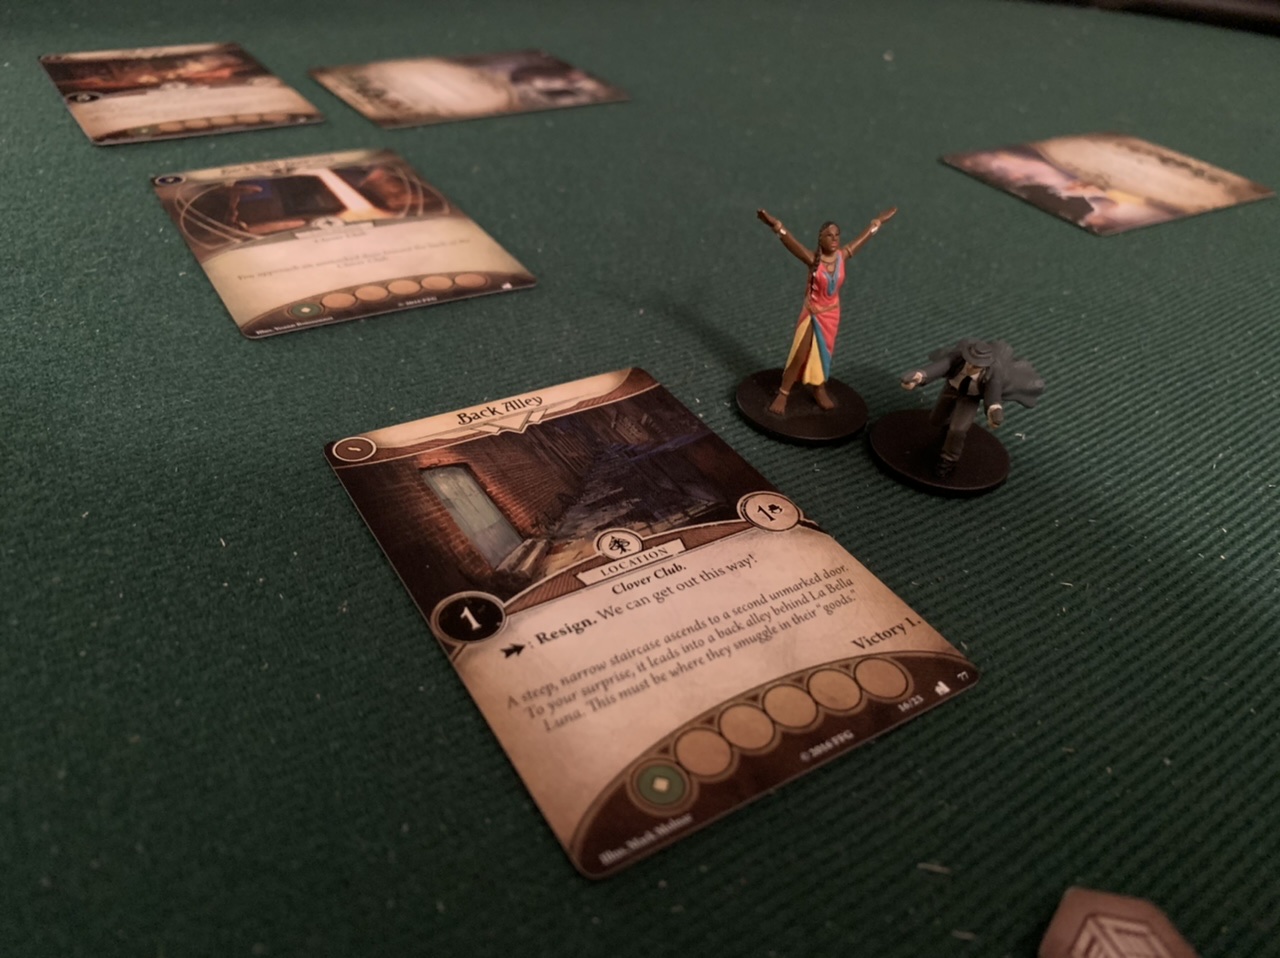
Right, so we’re at an Italian restaurant to find an old guy’s missing friend! This scenario is an interesting change of pace from those in the core box. We enter a restaurant and there are some mob thug enemies on the map, but they’ve temporarily got the Aloof keyword applied to them, which means they’ll leave us alone unless we attack them. For the first few turns there’s no combat, instead we’re just poking around looking for clues. So cool!
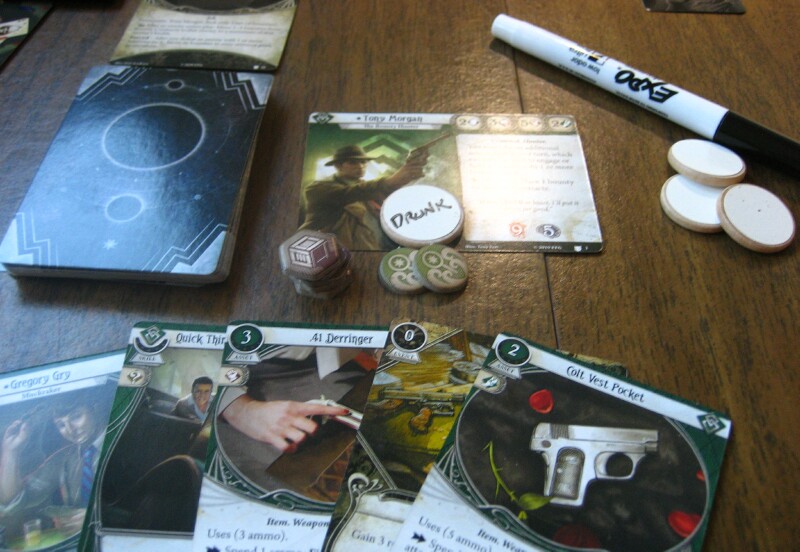
Tony grabs a drink at the bar, scoring a quick 2 clues. The game tells me to mark down that I’ve “had a drink,” probably because the designers just want me to remember the good times we had here and not because it will come back to haunt me later. Meanwhile, Akachi grabs 2 clues in the restaurant lobby before heading to the gambling room. There she rolls…whatever is a really good thing to roll in gambling because she not only makes her money back but also picks up 2 clues in doing so. Mark–distraught that he can only drink once per game–decides to join her and does almost as well, grabbing the last 2 clues we needed but losing 2 Arkham bucks in the process.
Anyway, this is about the point where the mob thugs started to get a little suspicious of us and dropped the Aloof tag, meaning they’d pursue us as normal. We head into the back hallway and split up to try and find Dr. Whatshisname. Tony spends a few turns stuck in the VIP lounge fighting mob guys and rats and also being broke. Later on I’d realize that I did a poor job of reading the deck Tom gave me because the Bounty Contracts card (you know, the thing that actually defines Tony as a bounty hunter) has been shuffled into his deck this entire time instead of permanently on the table with his character card. All this time he’s been taking enemies out for free!
Akachi finds two clues and another exit in the Back Alley and returns to help Tony finish off the club’s pit boss. Woo! We use our clues to find Dr. Whatshis, drunk and gambling with a couple of corpses. Akachi slaps him around and picks his card up as a new ally. This is it! All we have to do is run out to the alley and escpae. Akachi has one action left but instead of running into the hallway she decides to wait and run out with Tony in the next turn. I decide to just draw a card to burn her action…and I draw Akachi’s weakness, Angered Spirits.
Angered Spirits is the worst. Akachi needs to transfer 4 charges from her spells to Angered Spirits before the game ends or she’ll take 1 physical trauma (her max hit points will be one lower for the rest of the campaign). The thing is, she only has one spell with charges on it and you can only transfer from a single spell once per turn. We need to decide now if we’re going hang around for another 4 turns or if we should just cut and run and take the damage. This is when the Conglomeration of Spheres smashes through the front door.
I know what you’re thinking, but the Conglomeration of Spheres is not the thing from the Witcher books. Nope, this is a big ugly mess of slime and, kind of like, balls, I guess. It’s blocking the entrance, but that’s fine because we were headed out the back way. It’ll take the spheres a few turns to reach us, so we run for the door to turtle up. Well, not so much run. It takes us longer than I’d like because “someone” keeps losing actions because he’s “had a drink”, but a few dead mob guys later we’re at the door, ready to go. Akachi needs 2 more turns to dispell the curse. The spheres have arrived. This thing is pretty easy to hit and it doesn’t really do that much damage, but it does have a lot of health and there are still rats and other monsters who can join in.
Long story longer, Akachi gets in one good hit with Spectral Razor. Tony has finally started making some cash on the run from the VIP room to the back exit, but he used up his pistol in the hallway. He draws a card in desperation and gets…the legendary $6 Thompson submachine gun. Tony drops all of his resources and goes to town on the spheres like Captain Picard in First Contact (a movie that’s almost as good as Furious 7, Tom). With the spheres out of the way, Akachi transfers one last spell charge to the Angered Spirits and we make our way out the back door with Dr. What.
I really liked this one! When I played it back in March we found the Doctor but then got overwhelmed before we could get to the exit. I’m not sure it was a great test of the decks because the first few turns were very quiet but by the end it really felt we had a solid team that was ready to take on some tougher enemies.