Yeah that’s about in line with what I’ve seen around here. Anywhere from 12 to 20 a bf which really adds up with those thick slabs!
Charles, both your back yard and that pergola are absolutely gorgeous. Great choice on the color and finish on your pergola.
Heh thank you but it’s unfinished redwood. Here in Southern California you don’t really need to finish redwood and red cedar outside of cosmetics. It doesn’t even get that grey over time. The sun tends to destroy finishes in about a year and no way I’m refinishing this thing every year. Far too lazy.
OK, so nearly a full-ass month later, I’ve actually finished this project.
I sanded everything down quite some time ago, but then had to wait a few days for the lacquer to be delivered. Then there was the brushing on of the lacquer, each coat of which took a full day or so to cure, get sanded down and then re-brushed.
But the real delay was the fabrication of the legs. I made them out of one-inch square steel tubes, cut down and sealed with a small piece of metal on the bottom and pierced with a 1/4" threaded hole for equalizer feet which didn’t actually turn out to be necessary. It’s not that the cutting and welding was too difficult or time-consuming, but I simply couldn’t find enough time to get out to the shop and get the work done… or if I did find the time, the welder was being used by the guys involved in the Baltimore Kinetic Sculpture Race, who were working towards a tight deadline.
Since the table was oddly shaped, I resolved to make the feet-spacing non-regular and have the cross-beams asymmetrical as well. This came out pretty well, since my welding skill as are still pretty poor and having the spacing being intentionally non-square means that I can absolve any number of sins with semi-serious “oh, I meant to do that” types of answers.
I think in retrospect I should have gone with slightly larger legs (maybe 1.5 inch) or slightly shorter legs. But overall I’m pretty happy with the final product.


Stunning. You & your wife did good!
I am looking into maker-type stuff I can do without power tools. I am clearly in the “cannot be trusted with power tools” camp.
As a result, I find myself looking into the older-style of doing things. I haven’t really made any progress. After reading Adam Savage’s book, I am getting interested in making.
I drilled a couple holes in the base board but other than that the above project was done all by hand.
Also, I am fine with things like drills, etc.
It’s just table saws, jigsaws and the like that I am better off not using.
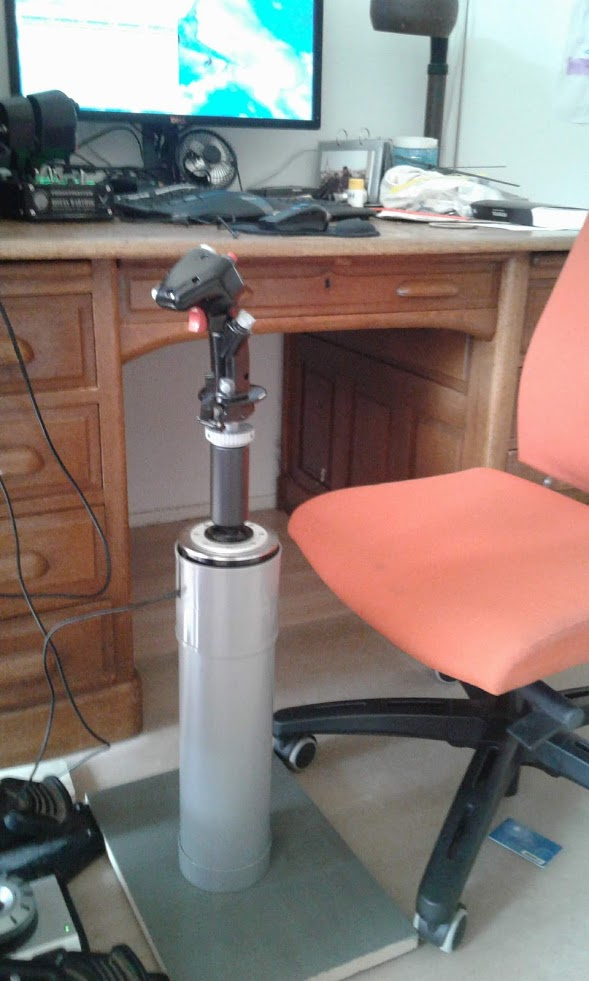
I like the fact that you proudly own the notion of flying your planes/spacecraft/whatever using a sewage-pipe.
You could have said “PVC pipe,” or maybe " 3-inch pipe from a hardware store," or even “some pipe I had lying around.”
But no. You are not one for jinking around the obvious or concealing your purpose in a cloud of technical terms. It’s a sewage pipe. A pipe meant to carry odoriferous human waste as far away from habitation as possible. A shit shunt. A piss pipe.
But seriously, that looks really cool. Do you plan to mount the pedals to the base as well?
Nah, one of the cool things about the pit as it is, is it clears away pretty quickly and is built back up in about the time the sim takes to load.
I fly fighter planes with it. The extension makes the stick more accurate, the pedestal makes it more ergonomic.
Should I spraypaint the thing? Or leave it in its sewagepipish glory?
From the pic, it looks like the white color matches the white plastic pieces on the joystick quite nicely. Unless there is some lettering on the pipe that isn’t showing up in the picture, I’d leave it as-is.
The grey bots on the sticks are metal actually. That thing is heavy enough to crack a skull with.
And yeah there’s lettering on the pipe.
I like it as is tho, a bit more punk than metal if you catch my drift.
It looks like a perfect spot for some squadron emblems and kill decals
That kids setup is beautiful (I’m late to this thread lol).
Thanks, but it ain’t no Frop Bog! ;)
Of course the frop bog itself does also belong in this thread, you made a bit of paradise in your backyard @jpinard!
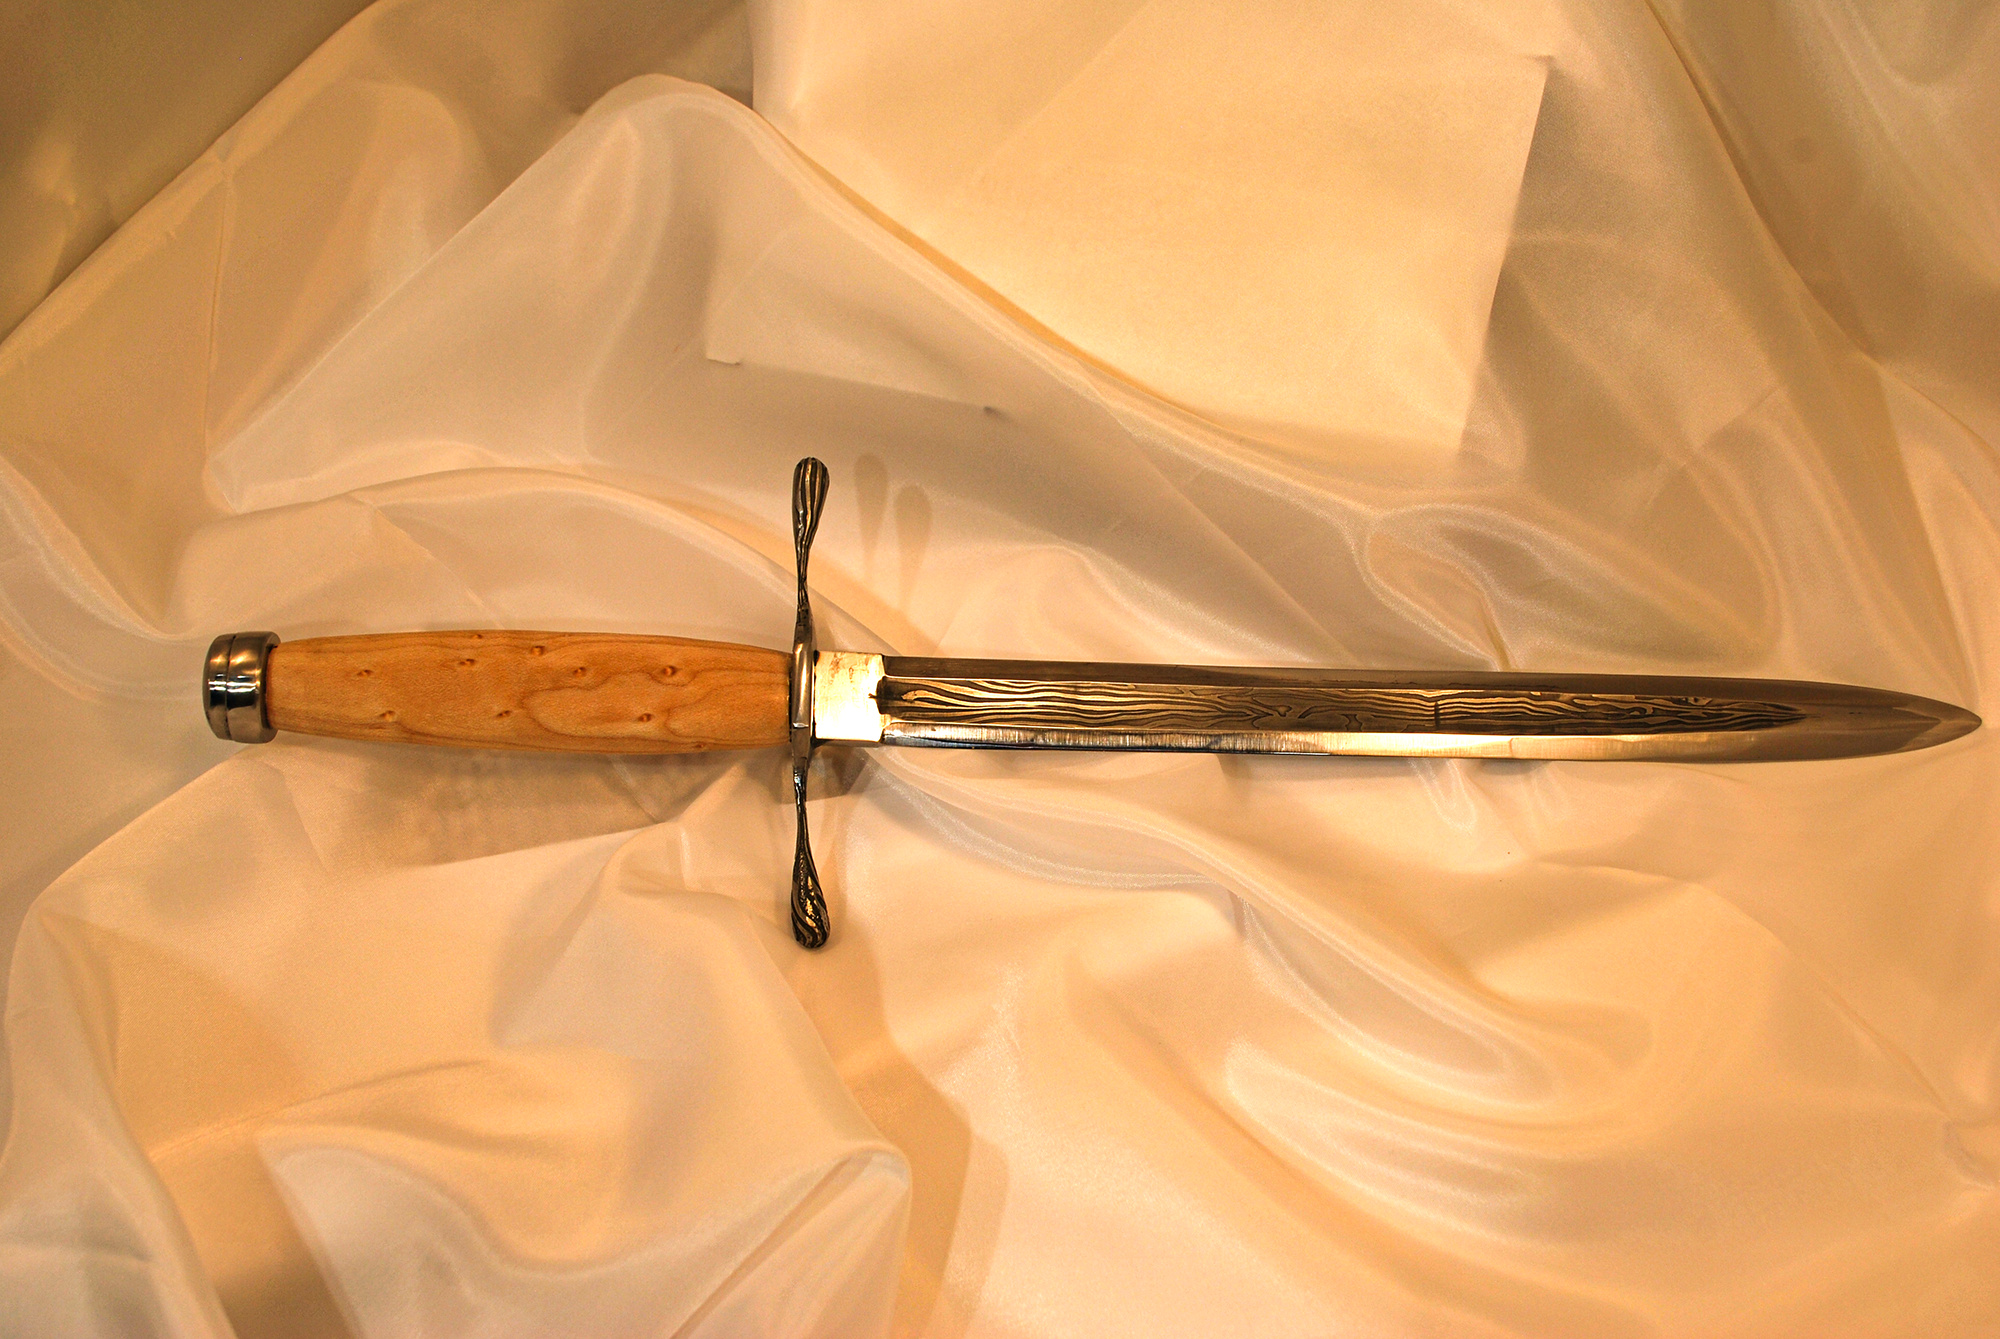
Here’s a new knife I’ve been working on. It’s intended for a buddy’s 50th birthday later this summer. It’s modeled after a Renaissance parrying dagger. In the 1600s, duelists often fought with a rapier in their right hand and either a small buckler or a parrying dagger in their other. This gave them an advantage over an opponent using only a sword.

Now why did I make my friend a parrying dagger? No real reason. I didn’t feel comfortable making a sword, but I wanted to give him something knife-like, and I maintain that everyone should have a parrying dagger just in case they ever meet a drunken Inigo Montoya.
Anyway, this is one of those projects where now that I’m done, I’m using phrases like “it was a wonderful way to learn some stuff”, or maybe “I’m happy I had this experience.” There’s just a lot wrong with it… but more on that later.
The blade is an eighteen-layer Damascus of 1095 and 15N20 steels, but the edges are actually 5160 spring steel. In retrospect (and knowing what I know now), trying to forge-weld a high-chromium steel onto the plain-carbon steel was silly and almost certain to fail… but I didn’t know that at the time and somehow I didn’t fail, though there are some visible cosmetic join-lines on the blade if you look too closely.
The cross-guard is made of the same eighteen-layer Damascus, but I etched it super-deeply to bring out the pattern a little more.
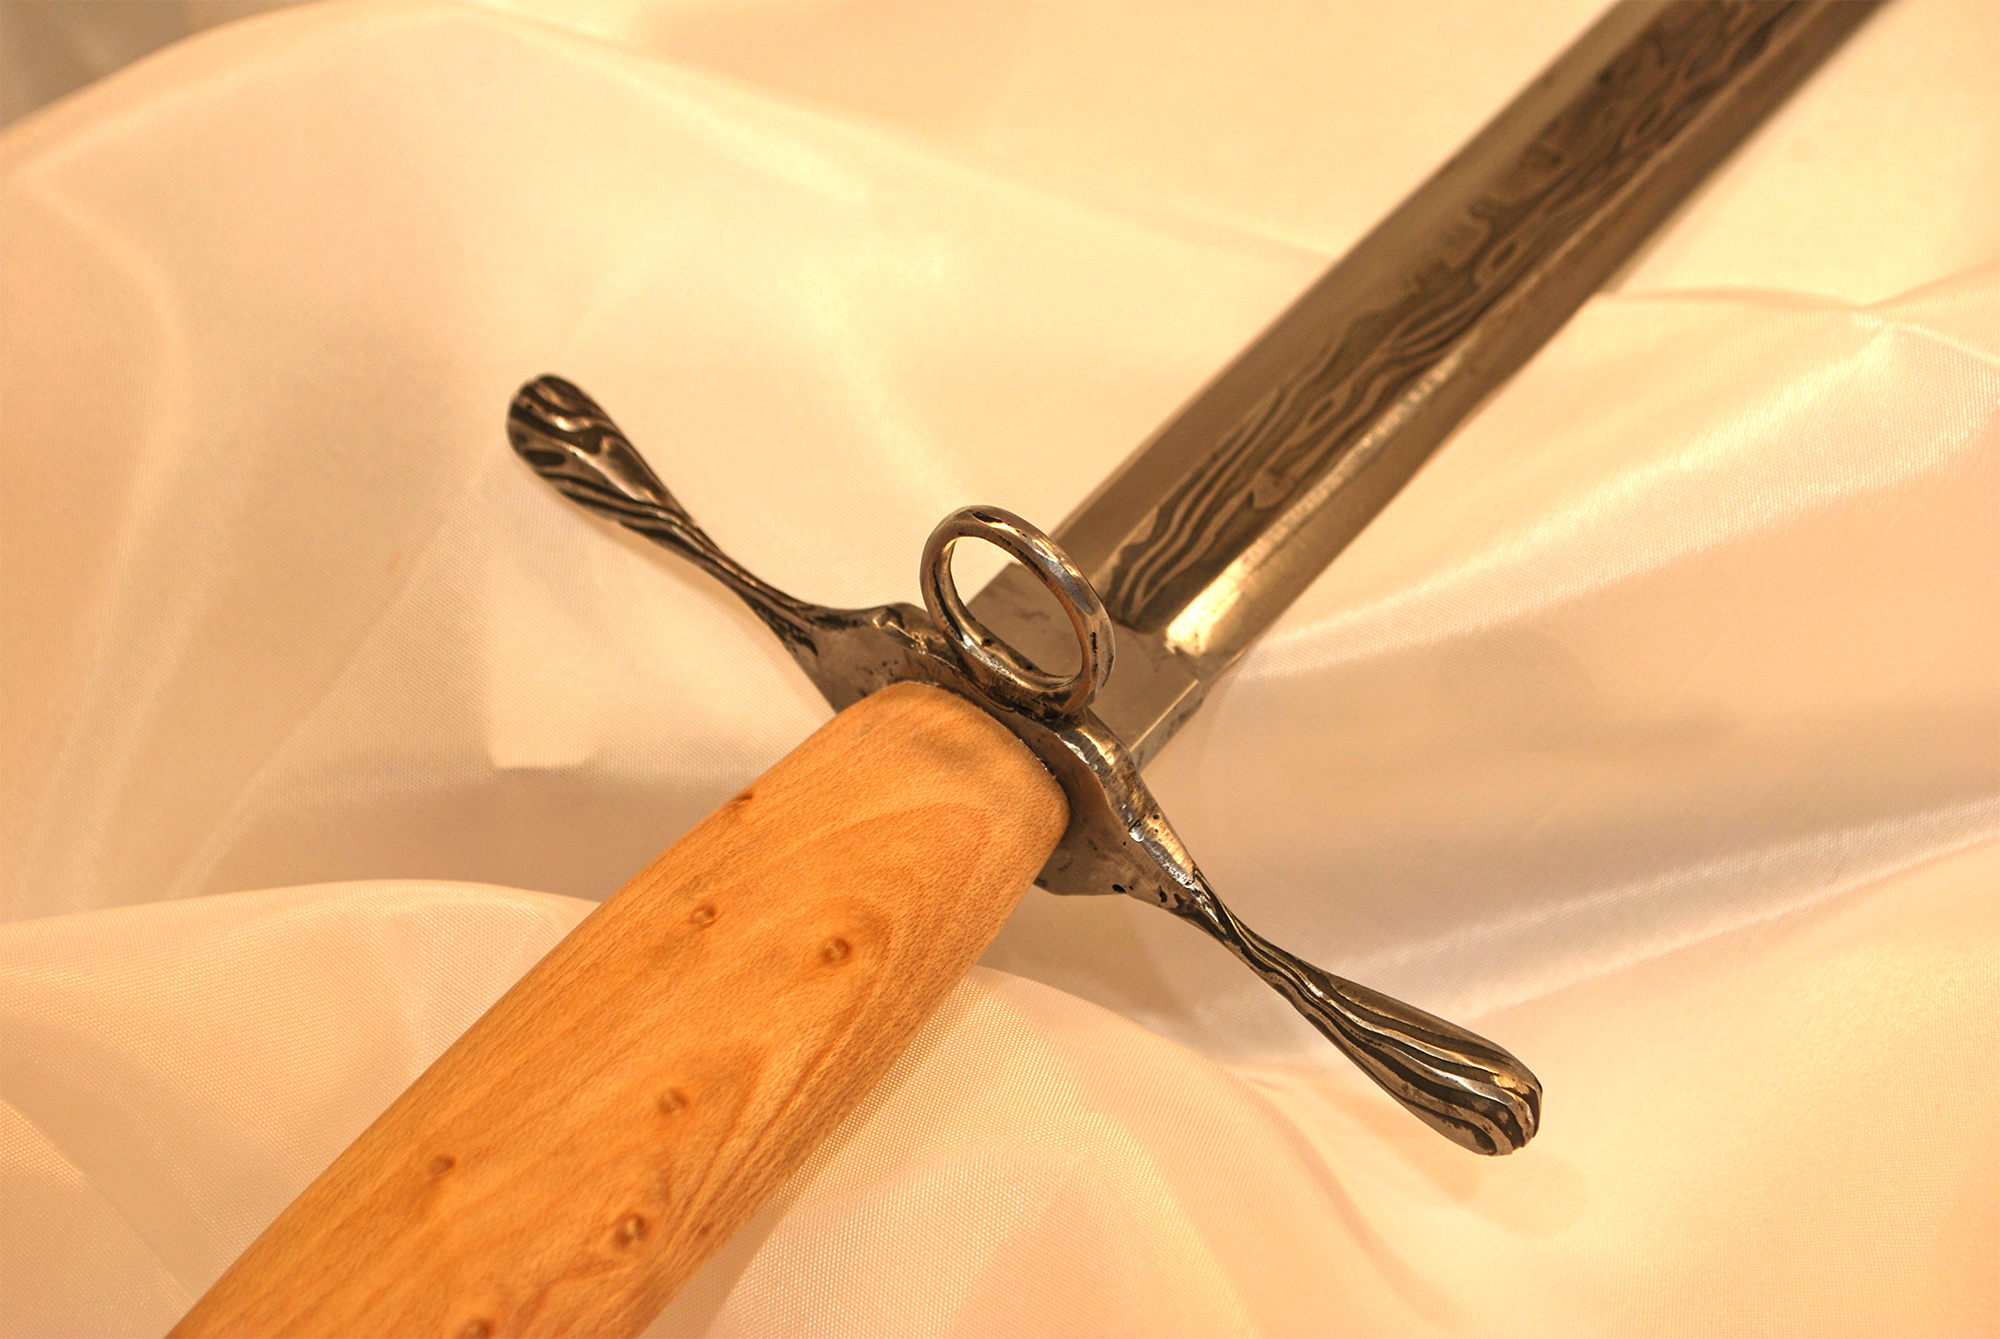
The handle material is some nice birdseye maple that @Tman sent me the other month. I stabilized it with some resin, but probably didn’t need to. The knuckle-ring is mild steel, and the pommel is some more Damascus, but the pattern was too dense so I just ended up polishing it and obscuring the pattern since it didn’t go well with the more bold Damascus on the rest of the piece.
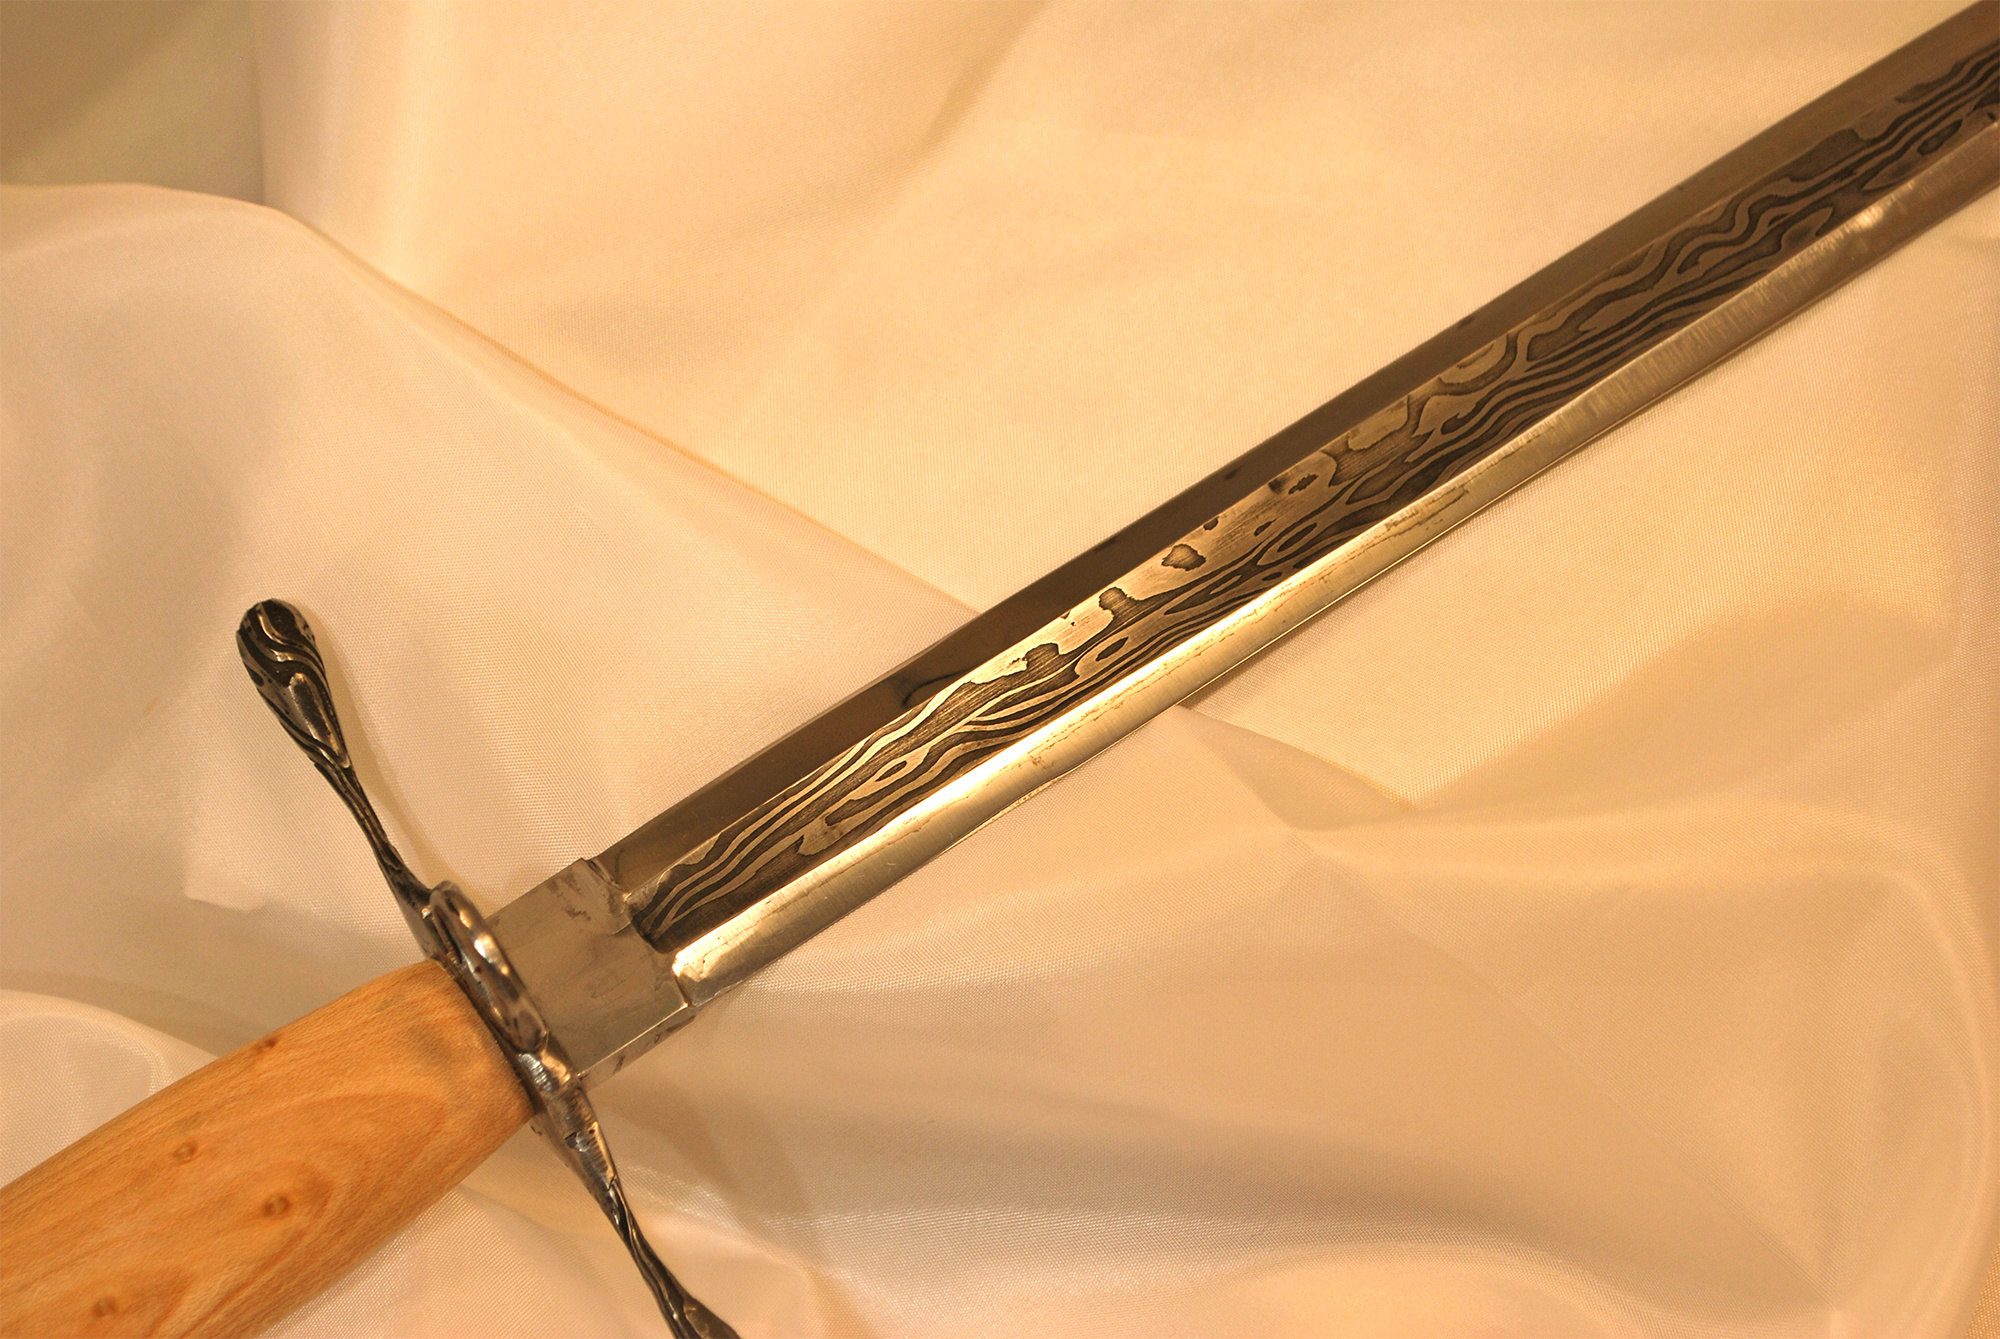
There’s a lot I’m not happy with. The blade itself looked straight when I was ready to grind, but after polishing it up, it “bananas up” slightly on one side. The guard is slightly higher on one side than the other. Most notably, there are small cosmetic cracks here and there that wouldn’t have shown up if I had simply kept the entire blade presenting the pattern, but because I polished the bevels, they show up here and there… and it’s very noticeable on the guard where I tried for a similar effect.
Parrying daggers often had a “knuckle ring” that was there to protect the duelist’s hand from getting cut up, so I have one on this knife. Again, it looked pretty round and centered before I set out to finish it, but… yeah, not so much. I kind of wish I had not included it as a feature.
Lest I come across as a whiner, there is a fair amount I’m happy with too. I like the look of the very low-layer count Damascus in the fuller. I like the fact I was able to pull off a fuller at all (first time!). I turned the pommel on a metal lathe from an odd-shaped piece from the forge, so the fact that I was able to make it nice and round (first time!) was a victory. The balance is pretty much spot-on, with the pivot-point being about an eighth of an inch forward of the guard. And I’m super-happy with the handle: the wood polished up great to about 1200 grit and the sheen of the birdseye maple comes across nicely in person.
Now I need to convince Ms. Wisdom to make a cool sheath, and I’ll be all set.
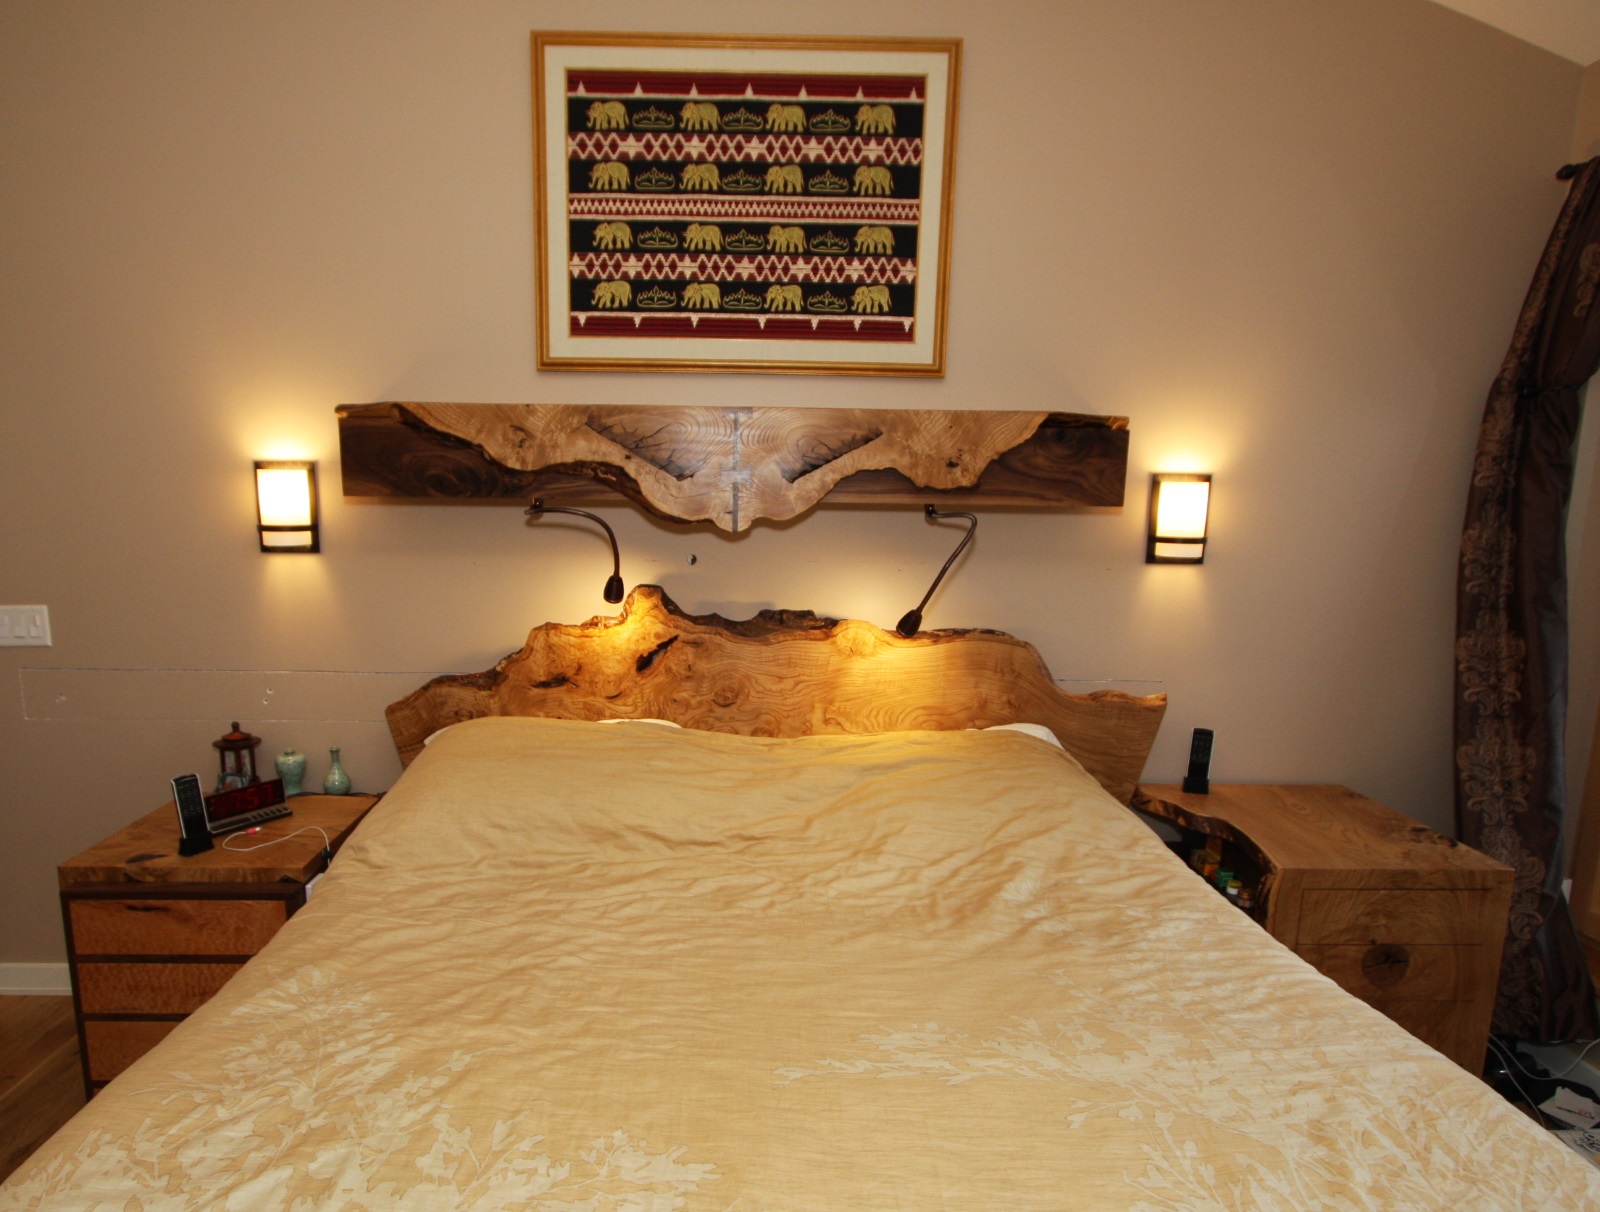
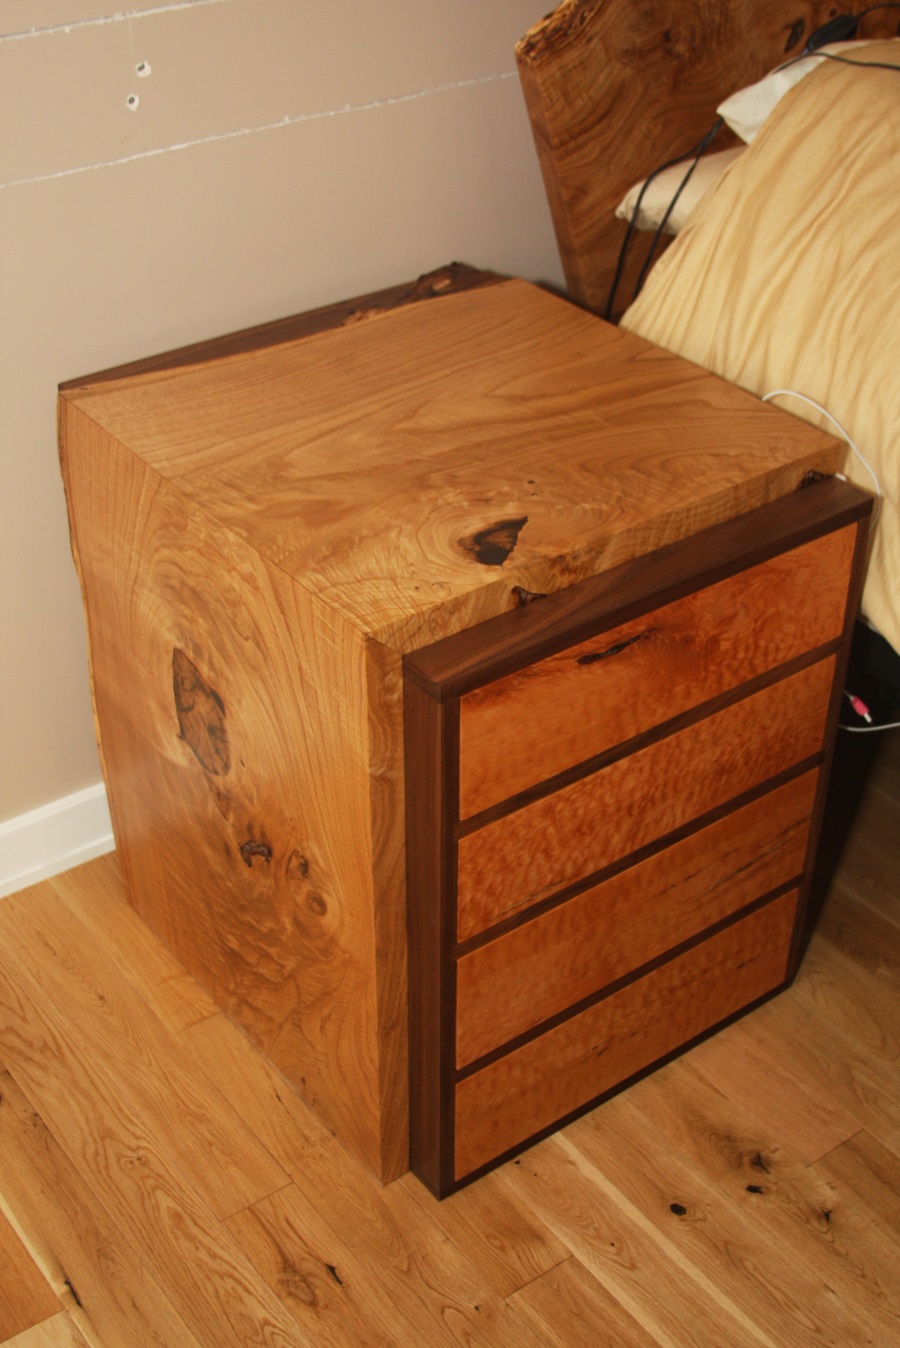
I delivered my latest - a full bedroom set with headboard, mantle/lightboard, two end tables and some underbed storage.
This was made with American Chestnut locally salvaged here in Oregon - waterfalled the slabs over the casework. This was my first waterfall slab (and I did three of them). They turned out great.
Funny story - the clients came over when I first got the slabs and he pointed at one of them and said “that’s a swoosh”. He works for Nike so this slab of course had to be the headboard. It’s not a perfect swoosh, but damn if he wasn’t right.


As always, good looking work.