I didn’t end up liking the digital version at all, but the Limited Edition Starter is awesome. The two player decks work really well for the included quests which are both good (one is terrific). The player decks are also nice because they sideways fill out a small collection (without multiple of the original starter). They include extras of a bunch of critical cards from the base game as well as a few really powerful cards from later sets. Icing on the cake: the full art encounter cards are the best the game has ever looked. I really hope they print more encounter decks with that template.
Day Eleven: Stand and Fight
“If Gondor has such men still in these days of fading, great must have been its glory in the days of its rising.”
-Legolas, The Return of the King
Threat Level 33
A sense of foreboding pervades as our suddenly-large party of adventurers rises in the new dawn. Three threats remain in the staging area: the annoying Wargs, the sharp-eyed Sniper, and the Brown Lands. We are still engaged to have combat with the Wolf riders. Fortunately, we are in the final stage of our quest and no more enemies will appear.
Adding to the dread is the fact that for the first time on this journey, all three heroes are wounded: Theodred with three out of a maximum of four, Eowyn with two out of three, and Beravor with two out of four. Thus, two of the heroes are each just one more wound away from their demise!
Among our five allies, the cousins Faramir have one wound each. We have three other allies – Gleowine, Henamarth Riversong and Erabor Hammersmith, all thus far unscathed.
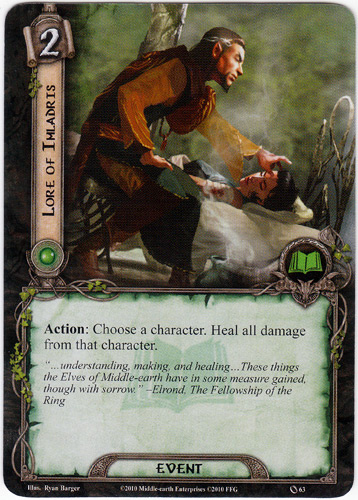
The current location is the East Bight, on which we have precisely zero of 6 progress tokens. In our hand are five events: Sneak Attack, Hasty Stroke, Lore of Imladris, Forest Snare, and Stand & Fight.
Resource Phase
We add resources tokens to our party: with two Steward of Gondor attachments, cash is not an issue. We draw another card, which we hoped would be an ally – and possibly the third Gandalf card – but alas, it is only a second copy of Lore of Imladris.
But we need more allies. So we exhaust Beravor to draw two more cards to our hand: A Test of Will and another Gleowine.
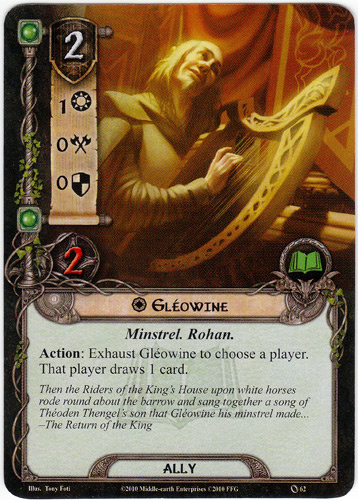
We then exhaust the first Gleowine, who is in our active party, and we draw a Snowbourn Scout. This is frustrating: we had hoped to add allies, and we drew two more, but they are simply the weakest allies in the deck. At least we have more redshirts at the ready.
Planning Phase.
The focus first will be on healing. Beravor pays one to play one of the Lore cards and reduce Theodred’s damage to zero.
Next, Theodred pays one to summon the Scout:
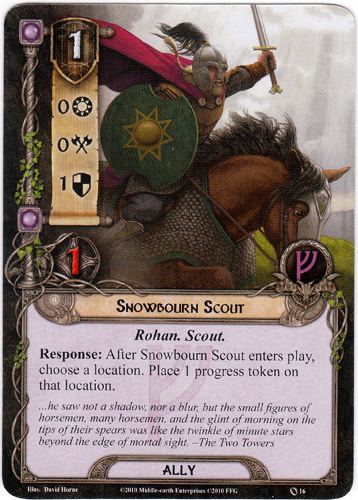
The Scout’s response allows us to place the first progress token on the active location, the East Bight.
Next, another little trick that addresses our need for another strong ally and reduces the threat for questing. Watch closely.
First, Eowyn pays four resource tokens and uses the event Stand and Fight:
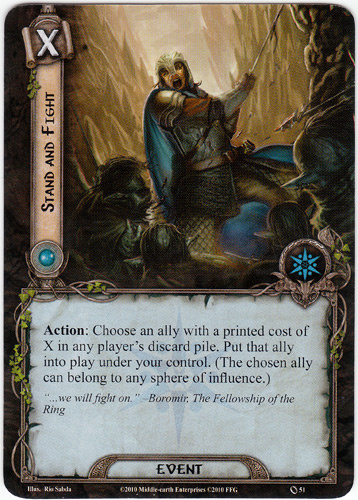
We pull the Northern Tracker out of the discard pile and place it among our active party.
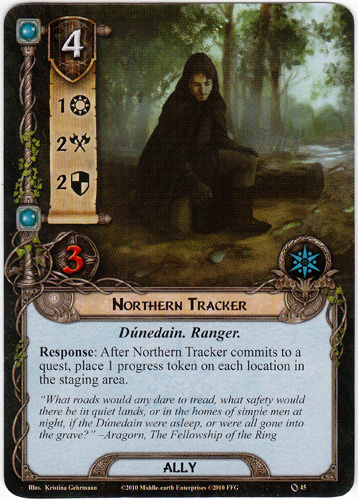
We then use the Tracker’s summoned response to place on progress token on the Brown Lands location, which sits still in the staging area:
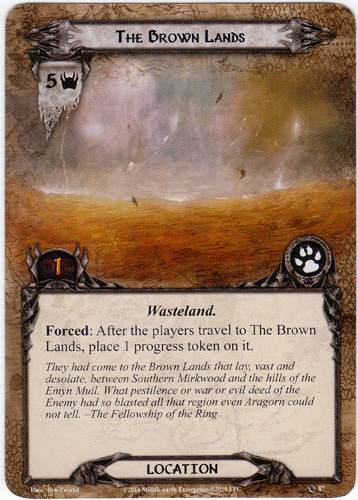
This closes the location before the party has even traveled to it, thus eliminating the Brown Lands’ nasty threat level of five before we quest!
An efficient and productive planning phase comes to a close.
Quest Phase
First, we exhaust Beravor’s Unexpected Courage attachment to ready her. Then we commit all three heroes to questing.
Quest Resolution:
Normally at this point we would reveal a new encounter card – but that is not necessary. As noted when we reveal the card on Day Ten, the third and final quest stage, “Ambush on the Shore,” has us skip the staging step of the quest phase for the remainder of the game.
So the quest result is a given: our heroes’ combined willpower of 7 versus the combined threat of the Sniper and Wargs of four gives us three more progress tokens on the East Bight.
NOTE: I realized after the fact that there was no need to close the location. The game is won at this stage once there are no more enemies in play. So in retrospect, I really only needed to quest with Eowyn and Theodred to avoid seeing the threat level rise.
Combat Phase:
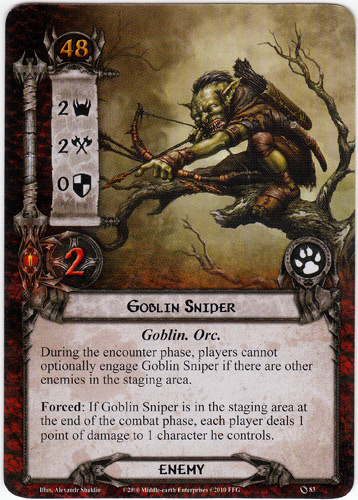
In addition to the Wolf Rider, with whom we are already engaged in combat, we must also engage with the Wargs. The Goblin Sniper is not an option because of the restriction noted on its card against optional engagement.
But that is fine – we will focus on killing off the Wolf Rider and Wargs this turn, and leave the Sniper for another day.
All of our allies, and none of our heroes, are available for these battles. First, the Wargs. Each time we’ve faced them, they’ve avoided damage because their accompanying shadow card has had no effect, allowing them to flee back to the staging area. Will that be the case again?
Before naming our defenders and attackers, we exhaust the spy Henanarth Riversong to get the answer: the top card in the encounter deck is Necromancer’s Reach, which has no shadow effect. That means the Wargs will, once again, attack and flee before we can counter.
Thus, there is no reason for us to name an attacker. We designate the Snowbourn Scout as the defender, and he is no match for the fangs of the Wargs. The Scout’s redshirt gets even redder with his blood, and the Wargs retreat.
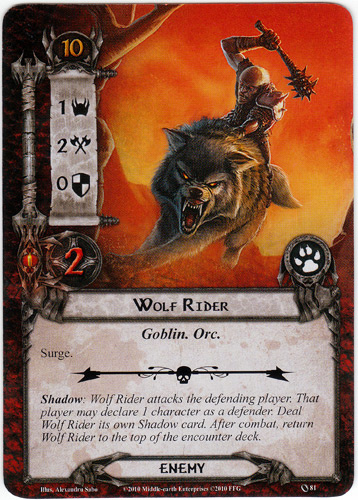
Next, the Wolf Rider. We declare Erebor Hammersmith as the defender. The shadow car is a location, Enchanted Stream, with no shadow effect.

The Wolf Rider’s attack of two versus Erebor’s defense of 1 yields one damage on the ally out of three maximum.
Next, we commit both Faramirs and the Northern Tracker to attack the Wolf Rider.
Their combined attack of four is double what is need to kill the Rider, but with the uncertainty of a possible shadow effect, better safe than sorry.
We’re not done, though. Remember from Day 10, the ‘Forced’ language on the Goblin Sniper means 1 point of damage to 1 character. Because we have just healed Theodred, he is the logical recipient.
Day 11 comes to a close. The heroes and allies are shaken, tired and wounded. The end of the adventure is in sight, but they remain uncertain if they have the fortitude to complete this journey.
It plays best with two players, either solo two-handed or with someone else. Solo, it’s more of a puzzle…how do I solve this quest with only three heroes.
Three-handed is pretty good too, though it’s a bit unwieldy for a solo player (I’ve tried it…once).
Four-handed is where the system starts to break down a little since it’s just too easy, in my experience. Four cards from the encounter deck just isn’t enough against 12 heroes and four hands of response.
By solo two-handed, you mean four heroes, and following rules as if there are two players, correct?
Well, six heroes, but yeah. You just play both hands as if you were two people.
Day Twelve: Off to See the Wizard
“…for he that strikes the first blow, if he strikes it hard enough, may need to strike no more.”
-Gandalf, The Two Towers
Threat Level 34
Our heroes wake and examine their wounds. Theodred has one, Beravor and Eowyn have two each. They know the journey is at an end. But though they have five allies, they fear that they will not be able to complete the journey without one of them succumbing. Success will only truly be celebrated if all the heroes return.
In the staging area are the two remaining enemies: the Goblin Sniper and the Wargs. They are all the stand in the way of completing the trek.
Our allies: the cousins Faramir, Gleowine the spy, Hammersmith and the Northern Tracker.
Resource Phase
We add tokens to our plentiful pool of resources, and draw a card:
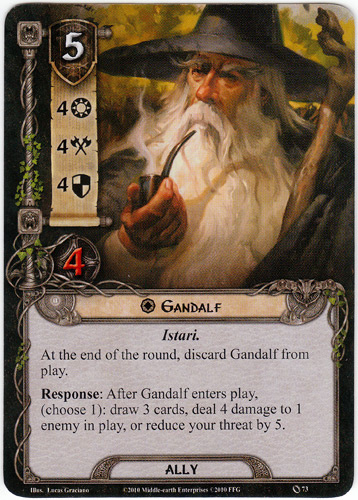
The Great Wizard has returned! As if sensing our point of crisis, Gandalf arrives for the third and final time to provide much-needed assistance.
Planning Phase.
This is simple: The resource-rich Theodred pays five to summon Gandalf. The Wizard uses his response power to deal four damage to one enemy in play:
This response does not exhaust Gandalf, and thus he stands ready to battle the remaining Wargs in combat.
Quest Phase
Questing is unnecessary – we have reached the end of our adventure. There is but one more task: the Wargs must die, once and for all.
Combat Phase:
The final battle proves anticlimatic. Gandalf stepped up to defend against the vile creatures. We reveal the shadow card: another Pursued by Shadow:
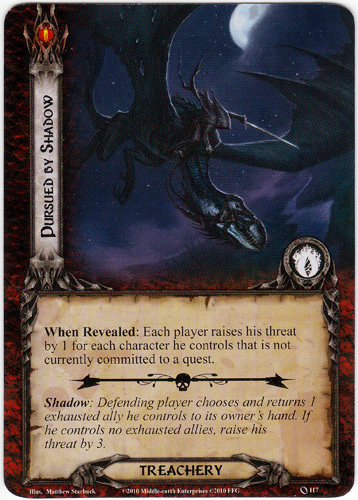
Shadow Effect: “Defending player chooses and returns 1 exhausted ally he controls to its owner’s hand. If he controls no exhausted allies, raise his threat by 3.” The perfect shadow effect for this situation – it does not add to the damage against the Great Wizard, but prevents the Wargs from fleeing back before we can counterattack.
So the Wargs’ attack of 3 is easily stopped by Gandalf’s defense of 4.
Next our counterattack: I won’t bore you with the math. Our three wounded heroes stand back, watching with pride as the remaining allies converge, once and for all, on the Wargs and insist on their demise.
They are, finally, ex-Wargs.

The journey is complete, and all heroes survive despite their grave wounds. They cheer their allies, then turn to thank the Great White Wizard.
But Gandalf is already gone.
THE END
That damn Gandalf…he’s such a scamp!
Playing solo turns off some functionality (namely Ranged and Sentinel keywords) and makes some cards in later sets not work. Also it limits deck building because you’re one deck must be able to quest, defend, and attack successfully to achieve victory. It also limits the encounter deck by only revealing a single card every turn.
In 2 or more players deck building is opened up a bit more. For instance one player can focus more on questing while the other focuses more on combat. You can use Range and Sentinel and the encounter deck sings a bit more by having to reveal multiple cards. There are insidious combos like sniper lock in Journey Down the Anduin (drawing 2 Goblin Snipers) You also go through it faster. Encounter decks in later sets are much leaner and meaner though.
That being said some quests are harder or easier based on the number of players.
Also if you were ever wondering what the worst Treachery card (and shadow effect) in the game is, it’s:

This single card will end the quest, and the shadow effect is even worse.
Arriving precisely when he meant to!
Thanks again for writing this up, @tylertoo. I greatly enjoyed it. And don’t worry about mistakes, in fact I think seeing how others have accidentally violated a rule here or there is a great learning experience, particularly for solo gaming.
Won’t you lose to Escape from Dol Guldur next?
Yes, I have to learn that myself. I’m starting out in Gloomhaven solo, and what advice I’ve seen is basically that: you’re going to make mistakes. Don’t sweat it, have fun, keep going. I have to remember that so I don’t get frozen in fear of screwing it up.
I’ve never beaten that scenario; not sure it is beatable with just the core deck. But I can try again!
Yup. One of the biggest criticisms of the core box was just how unwinnable the last scenario was but it is certainly possible, theoretically.
It’s definitely winnable with two core sets and two-handed. Not sure it’s really beatable solo…at least not without a god opening draw and the best encounter deck luck ever.
Correctomondo! The thing with that quest is…1 hero is captured + only 1 ally can be summoned per round, amongst all players.
The idea is you have to keep it tight! Which means, pack all the attachments. Bring the gear, not the army. They will be waiting outside to storm in once the flag is raised though.
Sure, I can! Though I was thinking of a different game. (Checks physical board game backlog).
Cool. Just make sure the game is as entertaining for someone completely unfamiliar with it while also having recognizable lore. ;)