I mentioned this project in a different thread where Visual Pinball came up, but it’s on a different enough track that a new thread makes sense. Some of the links throughout go to pictures – rather than burden the thread with loading them all.
I don’t know a lot of detail about the timeline of Visual Pinball and how it got to be where it is, but as I understand it, GlobalVR licensed visual pinball for use in a pre-made digital pinball product they called “Ultrapin” and added the option for the cabinet rendering mode. Then at some point they gave that code back to the original team so that others could use it.
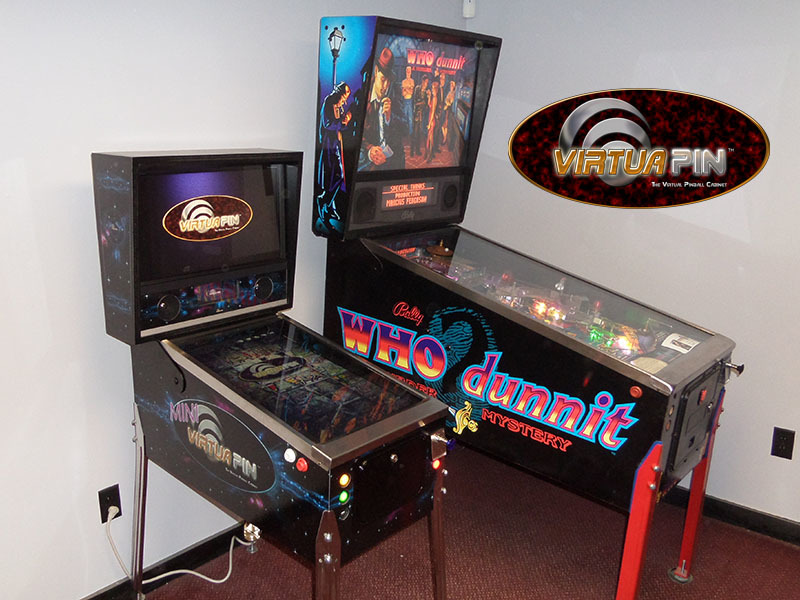
I stumbled across people building virtual pinball cabinets in an arcade emulation forum recently. When done right, they look awesome, and I was pretty sure I wanted to build one. The one thing making me hesitate was that I’ve never really liked digital pinball much. But, in the end, I really wanted to give this a chance due to the different view angle compared to average digital pinball, and the more appropriate ‘feel’ I expected due to the cabinet.
So to get started I put out the call on rec.games.pinball for an empty cabinet. I was hoping for a ‘wide body’ (SuperPin) cabinet so I could use a bigger TV, But I was offered a standard width Gottlieb “Rescue 911” cabinet for free, and took it. In the end, this was probably a blessing in disguise, because I wouldn’t have been able to stay anywhere close to the budget I had if I used a bigger TV.
I decided that, since I still wasn’t sure this was a good idea, I’d order the TV for the main playfield and build the computer and set it up in a test configuration and play it for a while to see how it worked out - before committing to the whole project. I really like the projects that have maximized screen space for the main table. To fill up the majority of the space, you cut down the sides of the cabinet to mount the TV on, rather than getting a TV that fits fully inside the case. After doing my best to research how large various sizes of TV are once you take off the outer case, I decided to go with a 40" TV. Specifically, I chose a LED LCD TV due to the fact that it generates much less heat. The plan was to set it up to simulate the real build as best I could, and if it just didn’t seem cool, then use the TV for something else and have a sweet gaming PC.
The basic PC specs are these: Intel i5-650 3.4Ghz, 4 Gig Ram, ATI 5770 1 Gig video card.
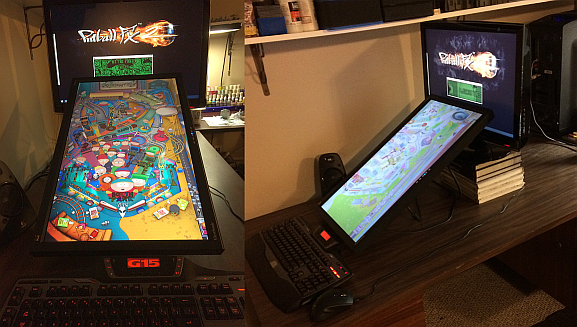
When the TV & computer arrived, it was time to test it out and make the call. I basically laid the TV on top of the pinball cabinet so it would be at about the right placement & angle. I hooked up just enough buttons through an IPAC interface to be able to use the flippers on the cabinet. Loaded up a few tables and took it for a spin. It only took a few hours of playing around with it, even in that ghetto form, to realize it was definitely cool enough to fully build.
First point of diving in was de-casing the 40" TV. Nerve wracking to say the least. I got that done, then laid the TV back onto the cabinet on top of the sides. It works just about perfect. The tv is just under 22" wide (turned vertically) and the cabinet is 22" across including the sides. The bulkier part of the TV fits down between the side walls. The next day with a little Rotozip action, the TV was under the glass. I failed to account for the fact that one side of the TV was thicker than the other, so I had to re-cut one side with a lower section to make it properly flat, but thankfully I had measured the thinner side.
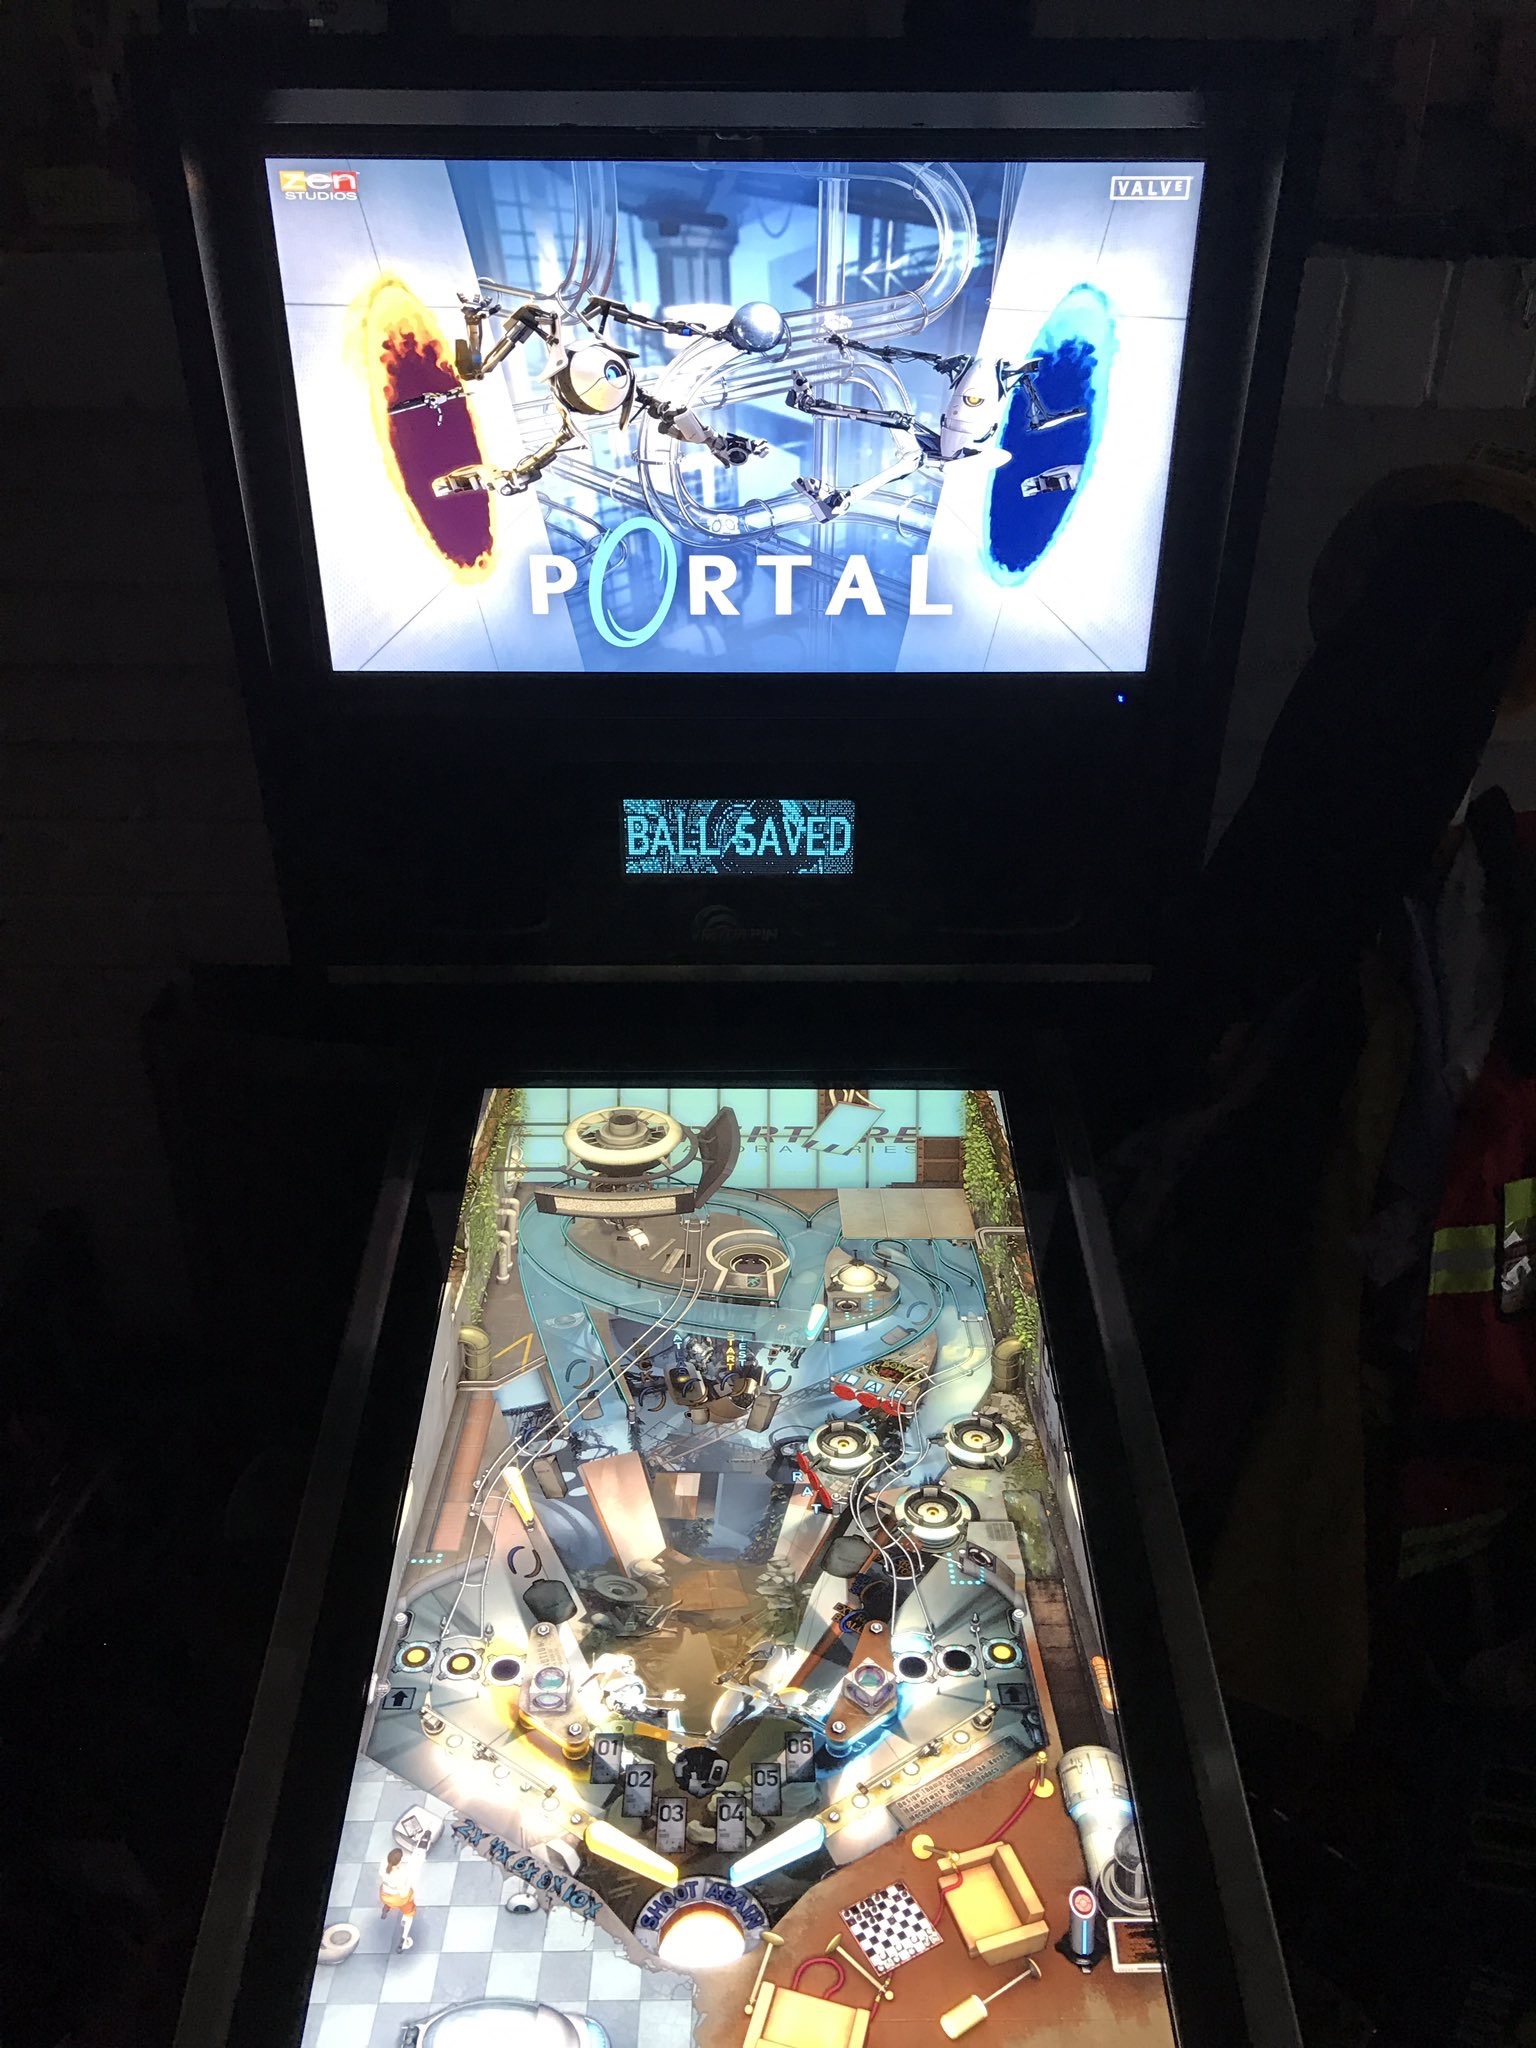
Then I set about setting up more of the software. The HyperPin front end, Visual Pinball and Future Pinball. Visual Pinball is the key to making this whole thing worthwhile. Visual Pinball integrates with PinMAME to run real table code on the back-end, combined with 3d recreations of said tables created by a group of ridiculously talented individuals. The end result is a very similar, but not exact of course, play experience to the real thing, with the standard view you’d have standing in front of a real cabinet. No scrolling up and down, no zooming around to follow the ball. They HyperPin front end seals the deal. Full screen previews of tables & backglass art, controllable with standard pinball buttons plus a few extras.
Meanwhile, I ordered the rest of the parts. New pinball cabinet legs & side rails. The 28" monitor for the backglass. A second 5770 to CrossfireX for a performance boost. The monitor arrived ahead of the other hardware, so I set about engineering a way to mount the thing. The inside of the head is only about 25.2" across (Standard Williams cabinet would have given me a few more inches to work with) and the monitor I got was 25.7" across. I knew this going in, however. I figured I’d just decase the thing and mount that. In the end, I decided to slice off the sides of the front & back of the case and re-case it to protect it and provide a nice bezel. A few angle brackets and some spacing blocks and it’s good to go. Next up was mounting the 19" monior for the DMD. Rotozip to the rescue again. chopped an opening between the head and body of the cabinet so that the monitor can sit halfway in between. A few more angle brackets and voila. They both went in easier than I was expecting.
The other hardware still hadn’t arrived, so I took the entire thing apart. Filled in holes and dings, sanded down the old art, and painted it. Plain black for now, someday I’ll do something about art for it, but that’s not important for me at this point. Visual Pinball doesn’t support any sort of analog plunger at this point - so I didn’t bother with a standard pinball plunger. Some projects rig up a switch to a plunger because they have some hang-up about a pinball machine really needing a plunger, but it’s still a digial on/off input.
Finally the cabinet parts I ordered showed up. New legs to replace the beat down rusted old ones, and new side rails to cover up the TV on the sides. The side rails I ordered are the older style Bally/Williams really thick ones that would easily cover the TV. The supplier sent me the wrong thing however, so those will have to go back. The new legs were fine though, so final building could commence. Put the legs on, finished up the wiring, bolted on the back box and mounted the 2 head monitors. It looks mostly like a pinball machine now. I don’t have the active adapter I need to run three monitors yet, so I pulled the crossfire connection so I could run all three monitors just to take some glory shots.
Aside from waiting for the rails, it’s mostly done aside from trim work. I need to figure out some sort of bezel for the DMD/Speaker area, and cover up the open space above & below the TV. Eventually I’ll look into various methods for nudging (VP supports nudging from left, right and center), some projects use tilt plumbs from real pinballs with part of the ring taped off to make the input directional, others use mercury switches. And I might look into adding solenoids to bang on the inside of the cabinet when you hit a flipper button to give you the same tactile ‘snap’ you get from a real pinball flipper. But for now, I’m just happy to have it in a fully functional playable state.
I had sold off one of my other pins for $3000 to fund this crazy idea so that was my basic budget. The playfield TV was $1000, the first computer order was about $1100, the second round of computer parts was another $500, and the cabinet parts and active adapter for the third monitor put it up just over $3000.


