That is cool dude. Keep us posted on this project - I am interested…
A little update on the costume… but first maybe I should lay out what I want to make.
My concept is a set of Warhammer 40K powered armor - specifically a Blood Angels space marine Chaplain.
Fairly ambitious, but there are lots of folks that have done “cosplay” 40K armor. I have a decent starting advantage because although no one would ever call my current physique “heroic”, I do stand around 6’6" and I’m not hugely overweight by middle-age standards. Thus I should be able to pull off the “hulking techno-barbarian” scale fairly easily.
Alright. So here is my rough “to do” list:
- Helmet
- Bolt pistol
- Voice modulator
- Power fist w/lighting and maybe sound
- Armor (which is a checklist in itself)
- Backpack
For the helmet, I’ve gotten a fair ways down the road in building a “life-mold” of my head. That was a weird experience and deserves its own separate post later on.
I’ve gotten a decent start on the bolt pistol in that I’ve built a good portion of it and abandoned the effort and started again. More on that later too.
Today, I managed to get the voice modulator in an 80% state. I can’t get too much further without the helmet and backpack being assembled, so it’s going to sit at 80% for a number of months.
Here’s the build so far:

The core of it is an Arduino “prototypeing” board, which is a programmable microprocessor on a circuit board with a LOT of sub-chips and features that I won’t need in the finished product, like the USB connector and a fair number of analog and digital inputs and outputs. You can’t really see the board itself in the gif because it’s covered by…
The Adafruit “wave shield” board. This is what I was assembling a few post up above. It’s a breakout board that handles audio processing separately from the rest of the logic. It includes an SSD card reader for storage of MP3 files for sound effects that I might use later, but mostly it handles the logic of what’s called “granular synthesis” - basically playing my voice back in several 10 millisecond “grains” that have been stretched to deepen the sound. The “shield” board sits right on top of the Arduino main board, but isn’t soldered onto it. The various wires that you see coming out of the wave shield board ARE soldered on because I don’t see re-using this board for anything else in the near future and if I do try another sound-based project I’d probably use a much smaller board.
Connected to the Arduino/wave shield mess is a small breadboard. I could have simply wired everything together in a bundle, but most of what’s shown here will sit concealed in the “backpack” of the space marine armor, and there will be plenty of room for the breadboard. Plus it will provide a nice stable platform for the potentiometer and maybe an attached power button.
The potentiometer (basically a knob dial) allows a nice physical control by which you can vary the pitch of the voice modulation – this could all be done in the code, but that would mean re-flashing the microprocessor each time I wanted to vary the sound. With the potentiometer, I can do that in near-real time by twisting the knob and clicking a small button on the wave shield board.
Attached to the breadboard is the microphone. It is a big part of the remaining work I need to do – right now the mic is attached to the breadboard by some Dupont wires and jumper pins. Eventually I want to solder the wires permanently to the mic, but I’ll need some easy connect/disconnect servo cables to do that because the mic will be in the helmet and I don’t want the helmet to be perma-wired to the backpack.
In the middle of the gif is a small amplifier. The wave shield is capable of powering some small headphones, but it can’t handle the power necessary to actually drive some speakers – doing so would blow out some of the chips in the board. So a small amplifier was needed. This little thing has its own power supply and takes the signal from the main device and passes that signal (and the power) to the speakers.
The speakers are fairly unremarkable little 4 Ohm/3W things, but they put out some reasonable sound. The stuff on the wires that looks like snot is hot glue that is supposed to hold the twisted wires together. In retrospect I should have used speaker wire (of which I have a ton), and I might do that later to neaten things up a bit.
The plan is to mount the mic in the helmet so that I can quietly state my plans for the harrowing of the Emperor’s foes while I’m wearing the helm. My dire pronouncements will be deepened by the modulator and then broadcast through the speakers which will be mounted either in the backpack just over my shoulders or else hidden in the shoulder pads or chest-piece of the armor.
So that’s that. All the gear shown above probably cost about $75 or so, and realistically I could have achieved the same thing with a $15 toy… though not with the same volume. But for me, it’s more about learning how to do this stuff than the cost (at least right now), and I’ll be re-using the Arduino “core” board in the future.
Next up is the bolt pistol.
Love that!
Sounds awesome overall.
My 11-year-old daughter discovered the existence of miniature painting and wanted to try it. So tonight we both painted little skeleton archers. She loves it, and is already planning to do many more. So that’s exciting.
“Like”
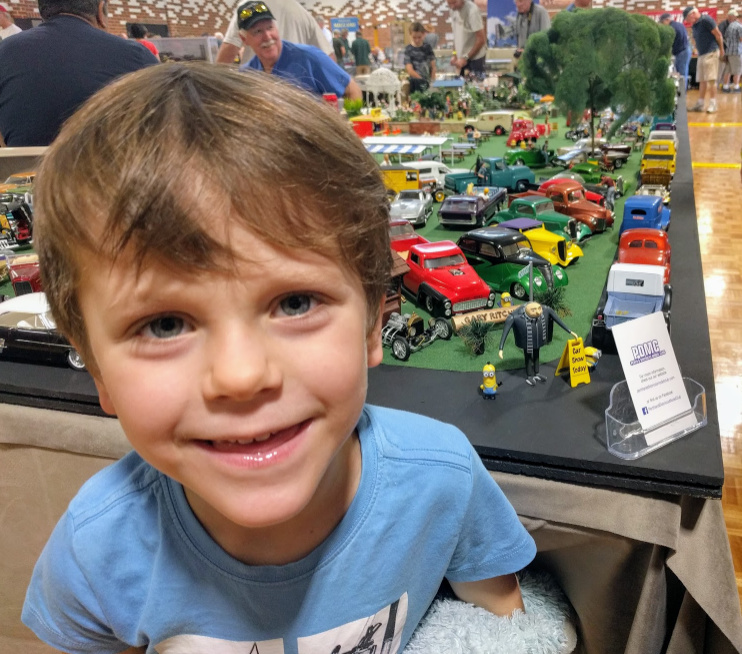
Took my boy to a local model expo over the weeeknd, here he is standing in front of his favourite model…Gru, Kevin and Bob. I guess he liked some of the cars and boats and Lego on display as well.
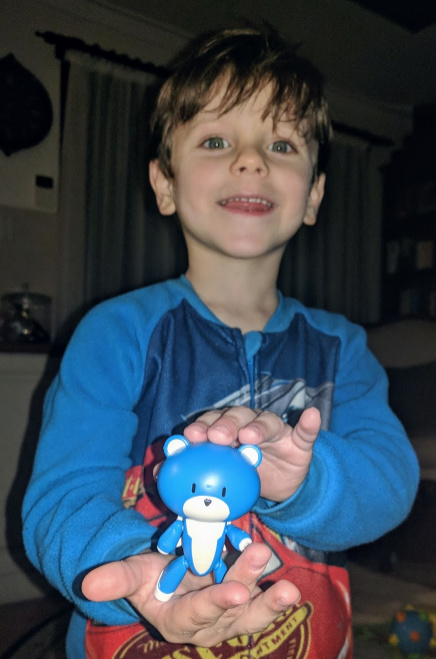
He was so well behaved (in regards to looking and not touching), that I had to reward him. So he received his very first gunpla model, which he proceeded to build all by himself (with the exception of me holding the sprue so he could clip the peices off). Not bad for a 4-1/2yo!
That-s awesome!
And it got me thinking… Only 4 years till I can do the same!
Awesome!
You’re only 6mos old? Impressive typing skills!
No, he’s serving a prison sentence.
It’s actually both.
A baby prison would be he cutest thing ever.
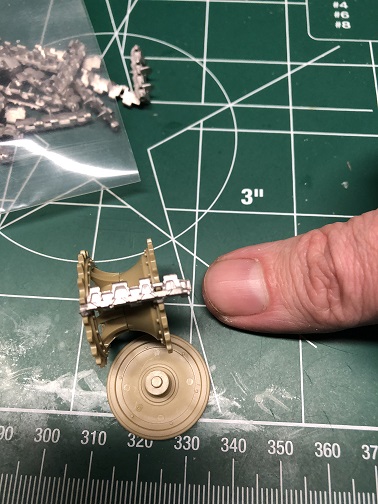
Well, this is the hobby desk thread so I think this counts. Am currently building a late WW2 Tiger tank, have six others to do, am thinking about the Battlestar Pegasus.
In the middle of these individual metal Tiger tracks. Thumb for scale.
Only 179 to go.
Nice!
How are you going to paint it?
The metal tracks accept primer, the same as I use on the tank itself.
I mean, airbrush or brush?
Oh, airbrush.
Planning on doing any weathering? It has become my favorite part of the process.
I have an array of weathering products, yeah :)
Awesome, looking forward to seeing the result. Do you have alink to the specific model you are building?