Got through the first turn of Napoleon yesterday and thought I’d highlight the interesting decision points.
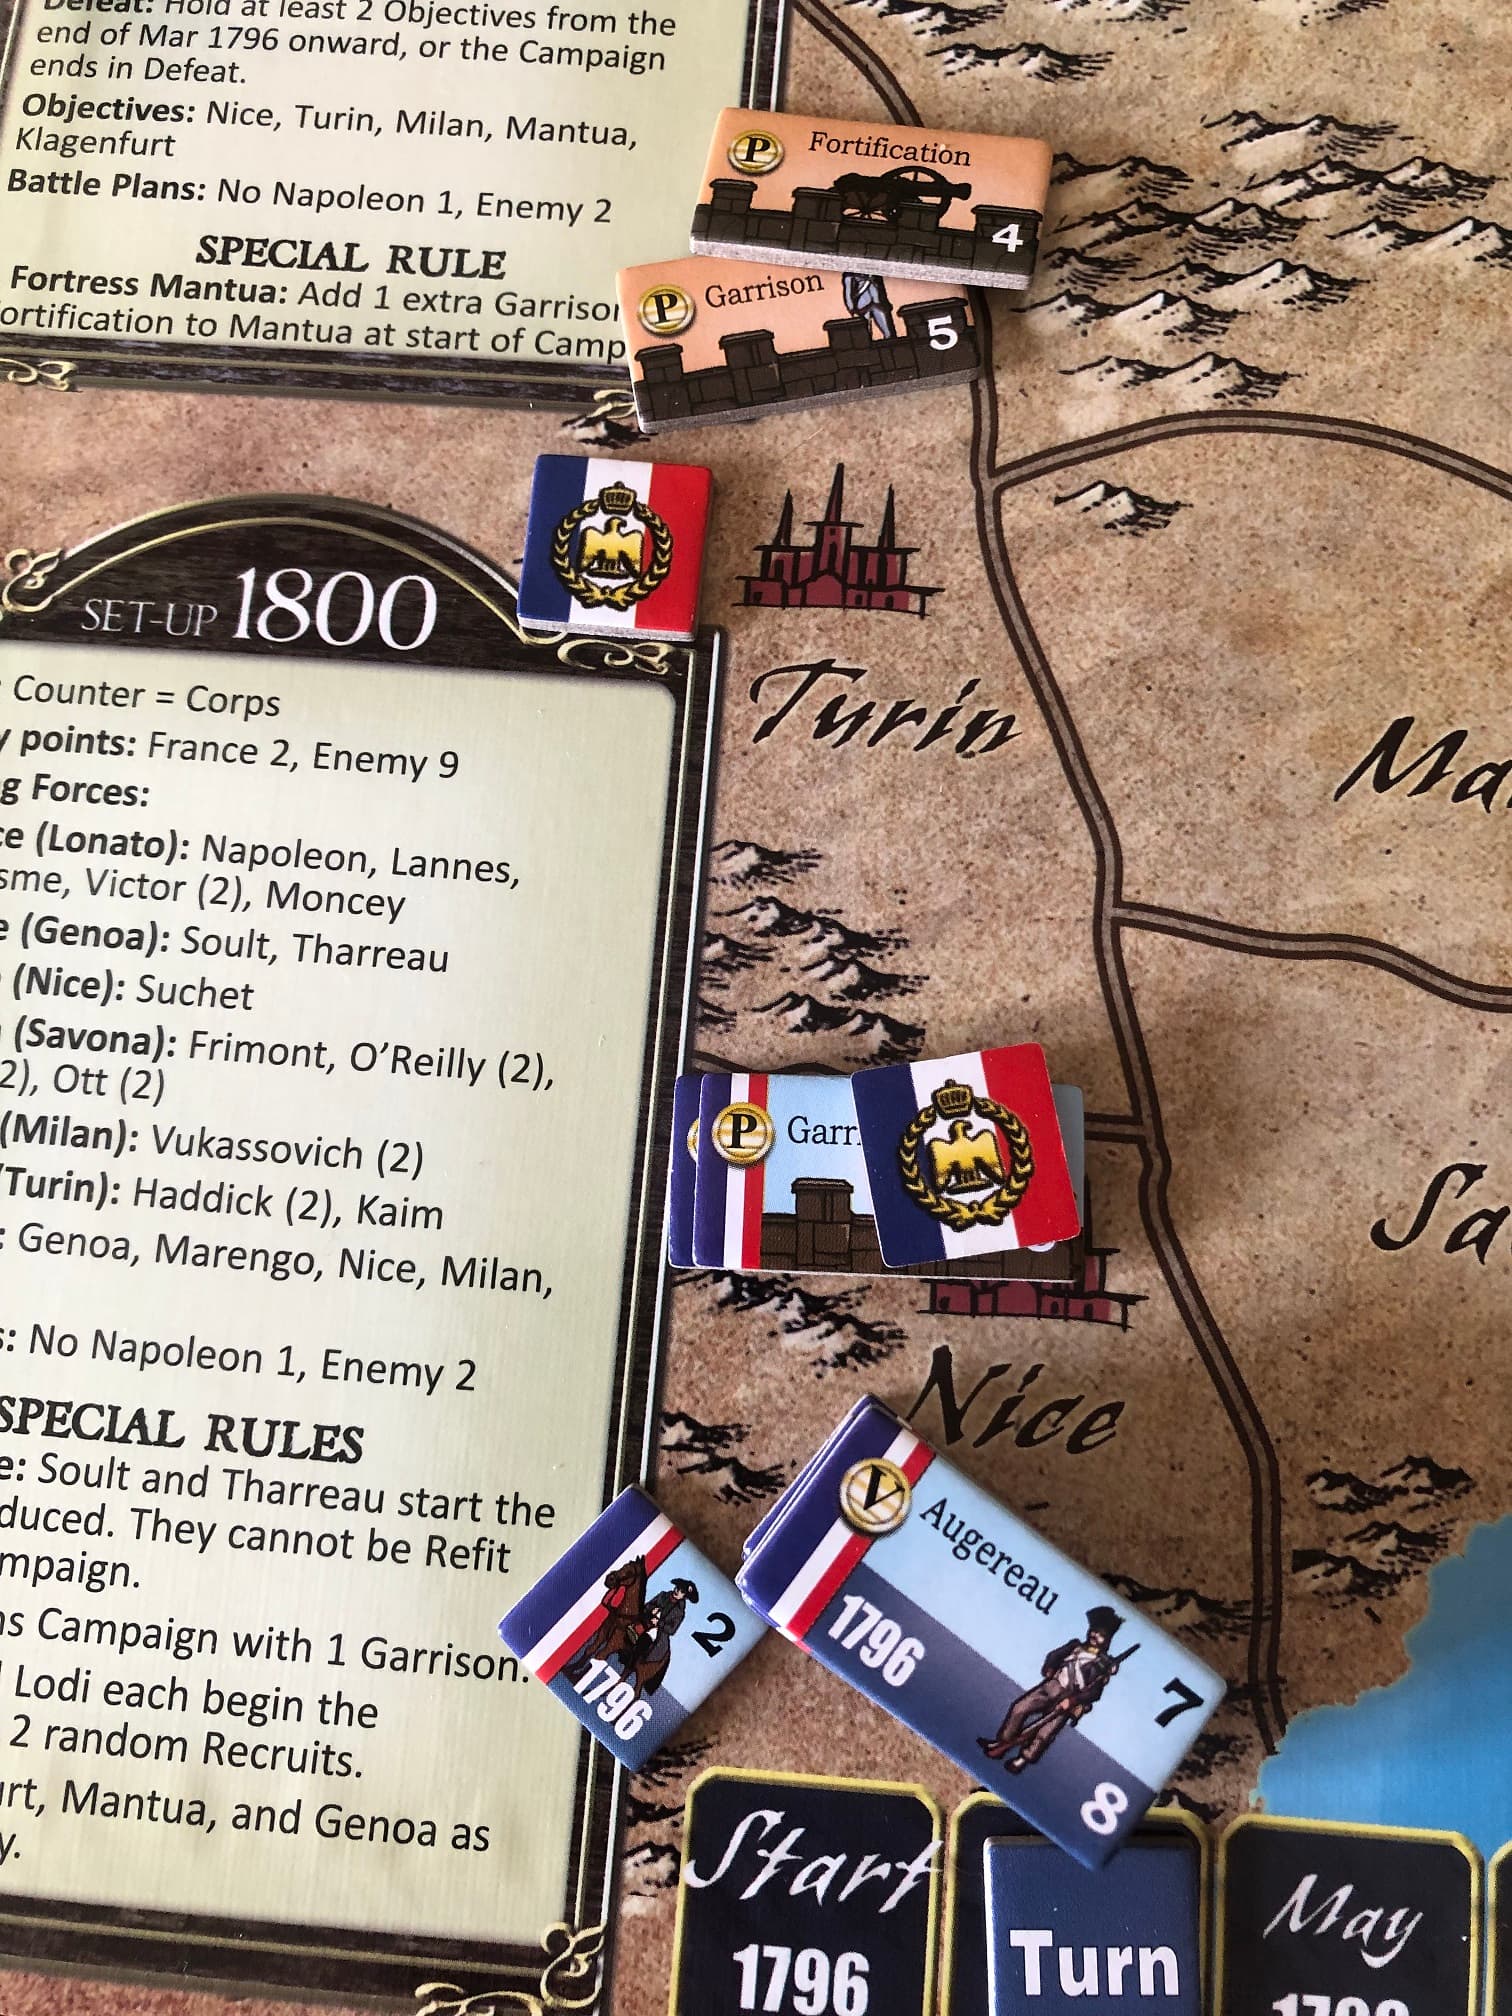
Decision 1: A special condition of this campaign is that you need to hold at least two cities from the end of Turn 1 onwards or the game ends in defeat. So my next move really has to be to take Turin. But how many forces to send north? There is an ‘envelopment’ rule which says if your combat strength outnumbers the defenders’ by three to one, you win without having to fight, so I need to split my stack along those lines.
Decision 2: However! There’s a fog-of-war roll before each battle, and it’s quite likely, at least early on, that the defenders could get reinforcements, and sure enough they do. I no longer outnumber them three to one, so I have to fight a battle. But Decision 2 really refers to Napoleon - should I have taken him with this force, or left him behind in Nice? He doesn’t add any combat strength, but he does allow you to add the number of Battle Plans on his counter (2), which are the backbone of your strategy on the tactical layer. I left him behind, but this would have ramifications later…
Decision 3: I win my battle fairly easily, though the fog-of-war roll also set the battle to a tight 2-turn length. I had to purchase an extra Battle Plan using my supplies (because no Napoleon, I only had one) in order to conclude it within that time frame. We’ve captured Turin! After the battle I get to resupply, so Decision 3 is buying a cannon. I’m doing this because I saw it in a video, and a cannon can hit all over the field, not just in adjacent zones. I also buy a Scout, which allows me to negate an enemy roll.
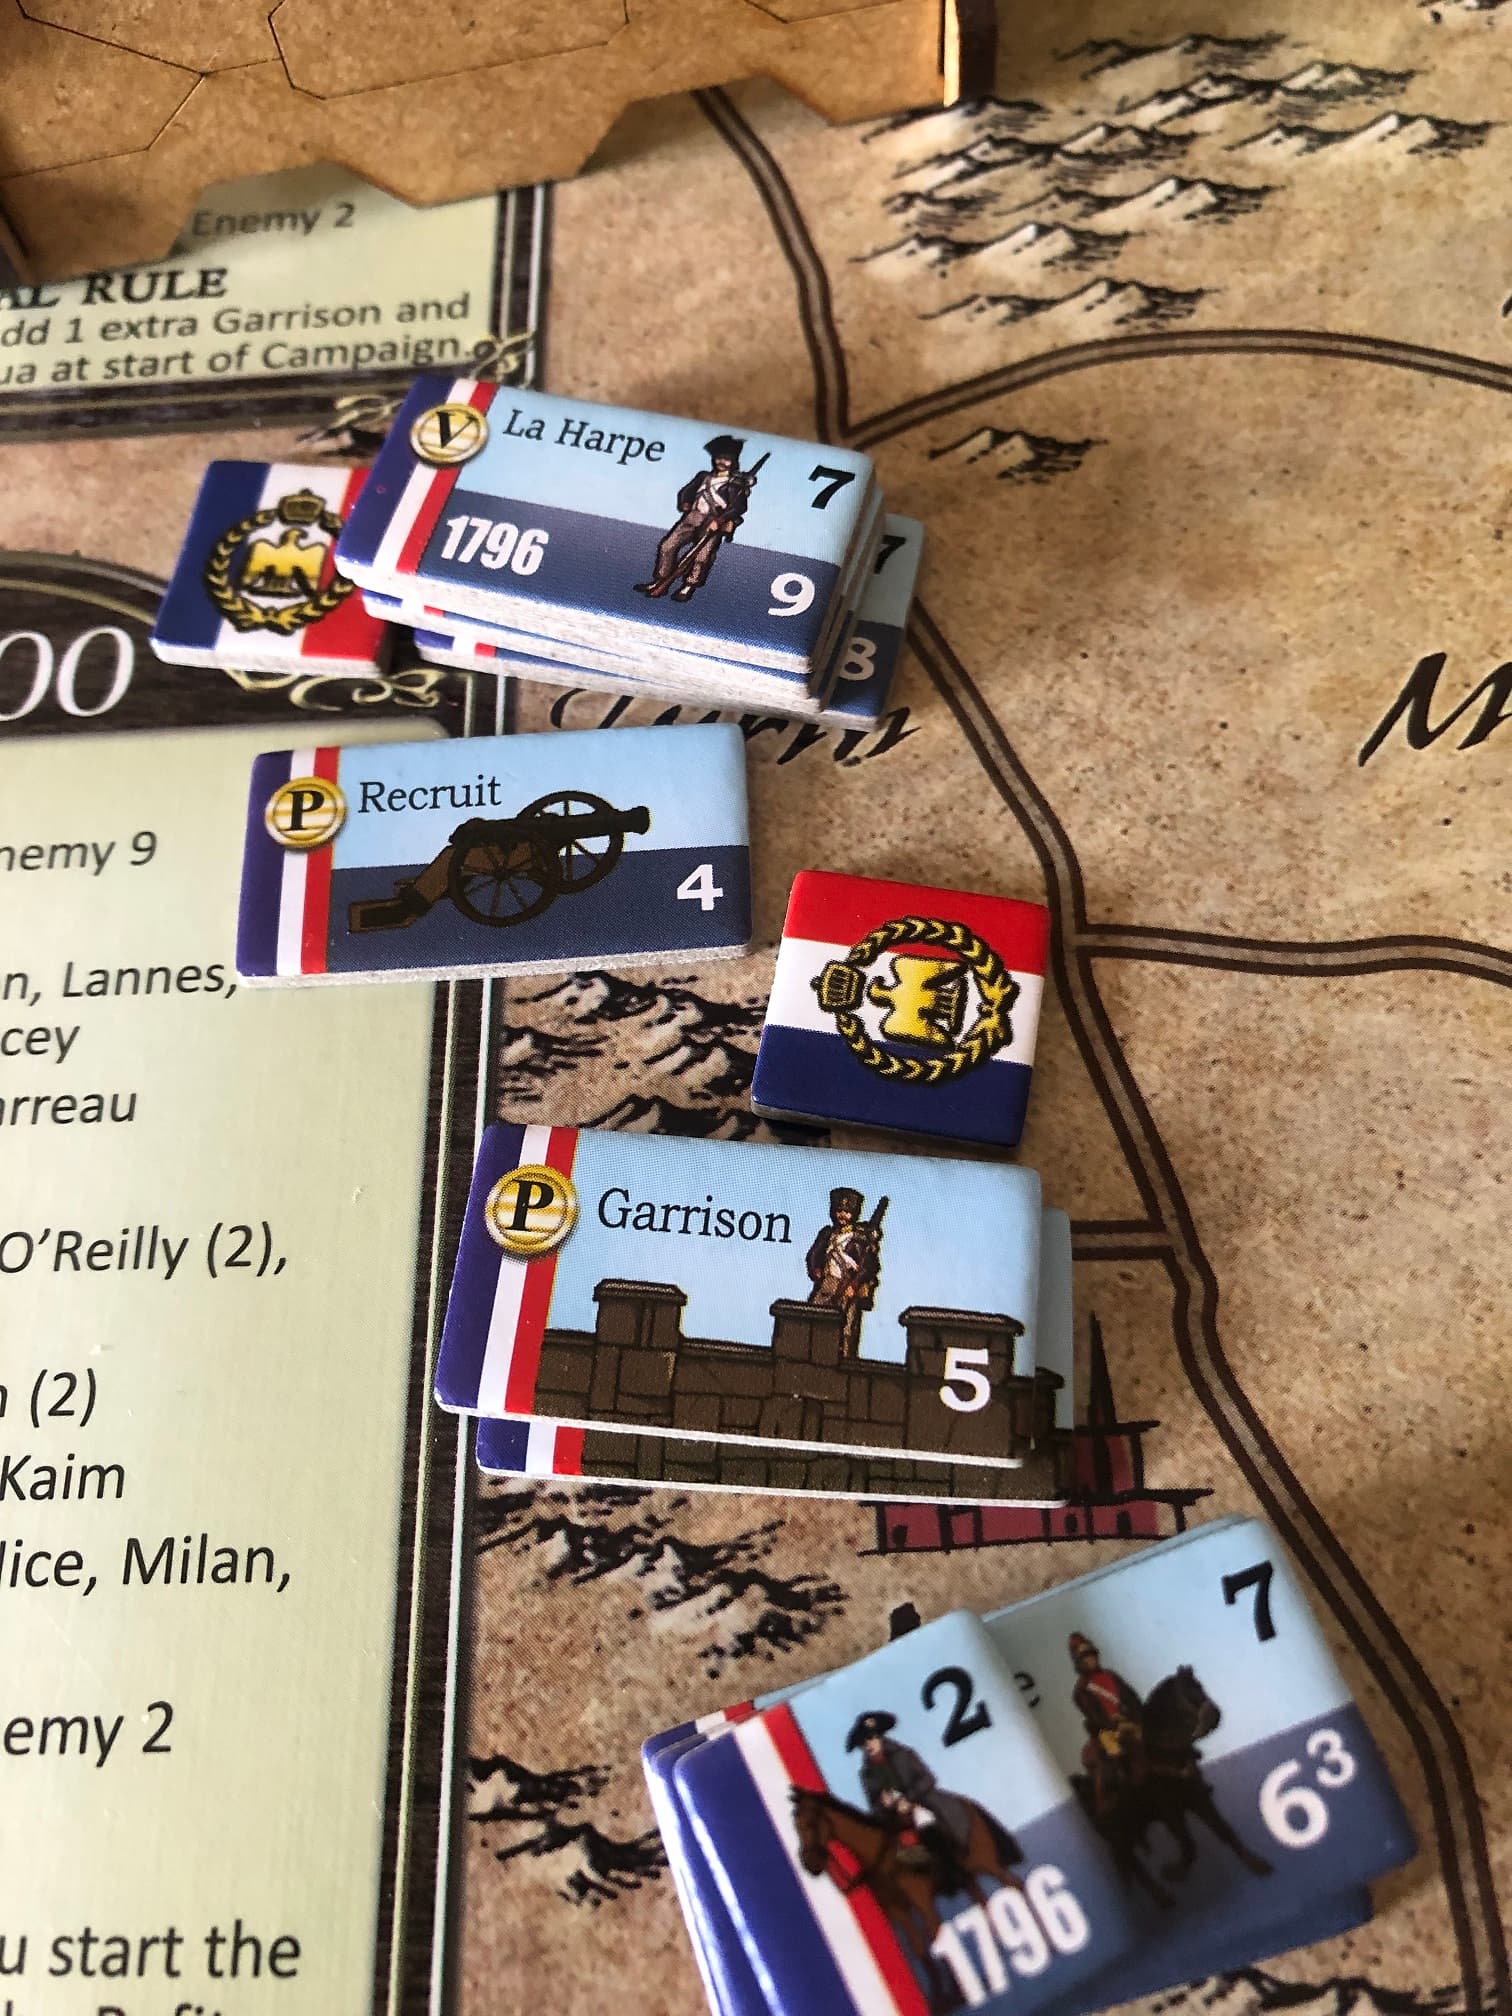
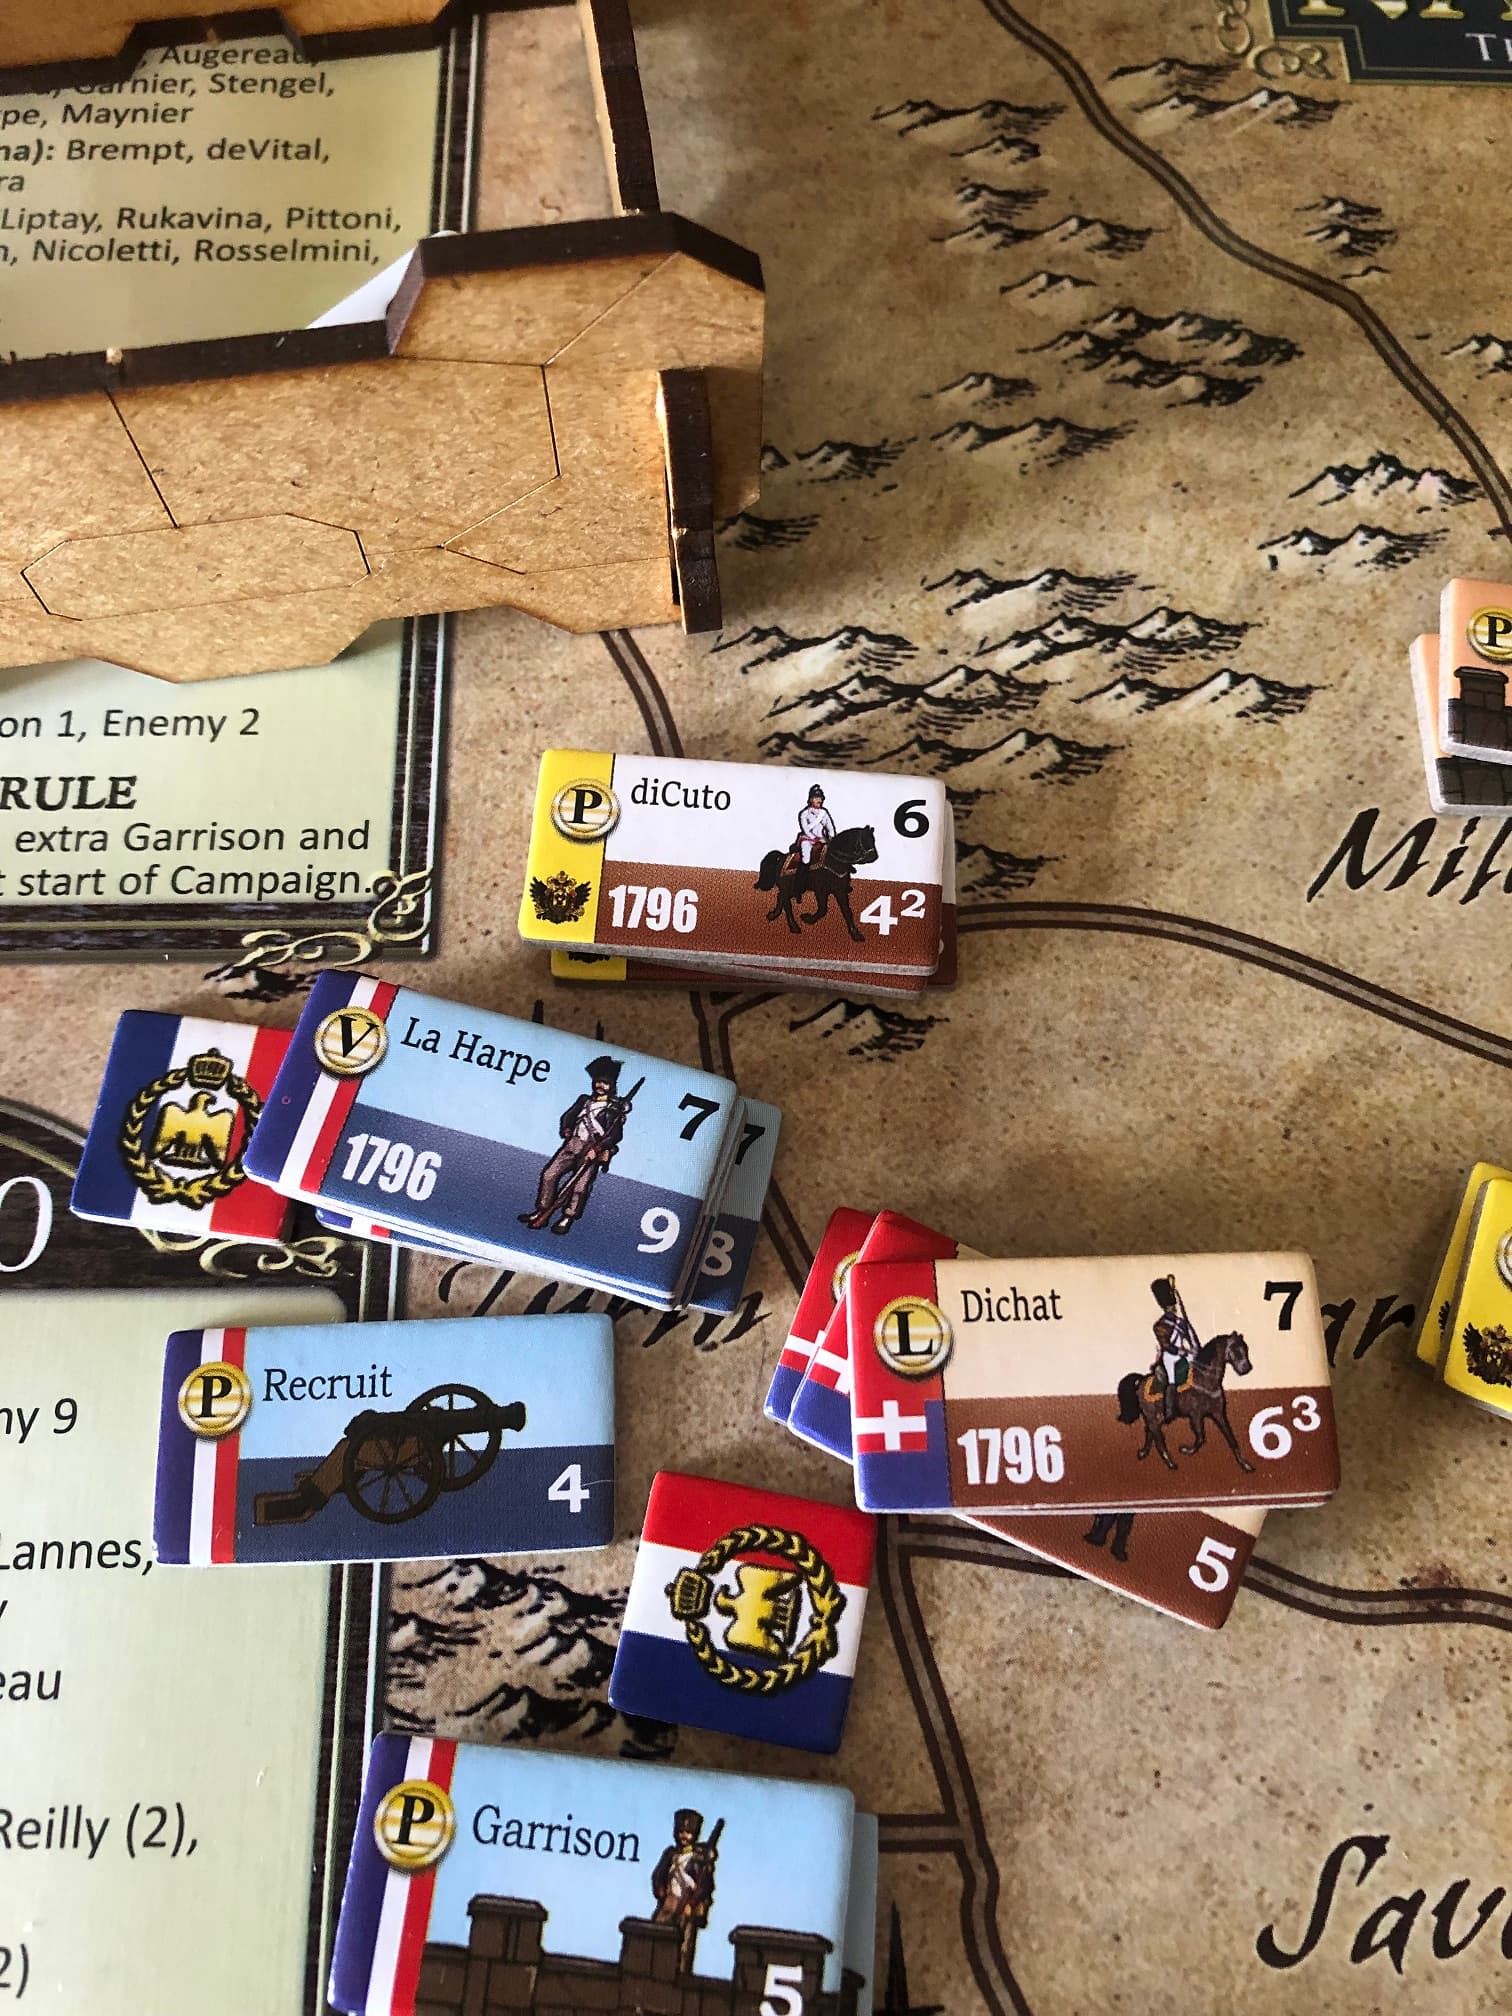
Decision 4: And that Scout comes in handy immediately, as all the opposing forces make a beeline for Turin. Both Dichat (2 stacks) and diCuto make straight for Turin. I hadn’t realised that the enemy targets your weakest force, so Napoleon down in Nice with a numerically stronger force can sit this one out. It would be nice to have his two extra battle plans right now, but I also realise that I can negate one of the enemy’s rolls with my scout, so I send diCuto packing back to Genoa and make him roll again. He doesn’t make it this time :)
Decisions 5 to 15: We get onto the tactical board. I decide to stay in place and wait for the enemy to come onto me, but I also make a Haig-esque blunder by not moving my troops from column formation (good for advancing) to line formation (good for shooting - it’s more complicated than that but I’m simplifying for brevity). This means that when it’s time to shoot, I have to roll a die to activate each unit (I would not have to roll in Line formation, it’s automatic), and all these guys repeatedly fail their rolls. I end up losing nearly my best unit (La Harpe), but win the battle. I can buy him back later. (I also used my supplies to buy two extra battle plans here, which means I have three on the board).
To start off Turn 2, I’ll have to decide how to advance while still keeping my cities safe from the horde to the east. Attack is probably the best option, but I need to watch out for troops sneaking around me.
Really impressed with it so far! Lots to do and consider, while not being overly complicated. There are 11 campaigns and 7 mounted map boards, so lots of content. Looking forward to continuing the campaign today.